Branching enables you to guide end users through several possible options. For example, if there are multiple paths that an end user can choose as part of a Flow, then branching can be used to ensure the users are guided irrespective of which option they select.
Add branches while creating a new Flow or while editing an existing one.
Use the following steps to create a branched Flow:
-
Log in to the application where you want to create content, and then launch the Whatfix Studio.

-
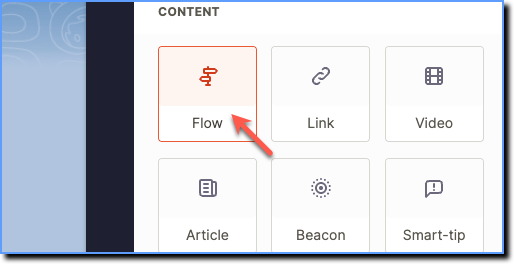
Click Flow.
-
In the Studio toolbar, select a capture mode.
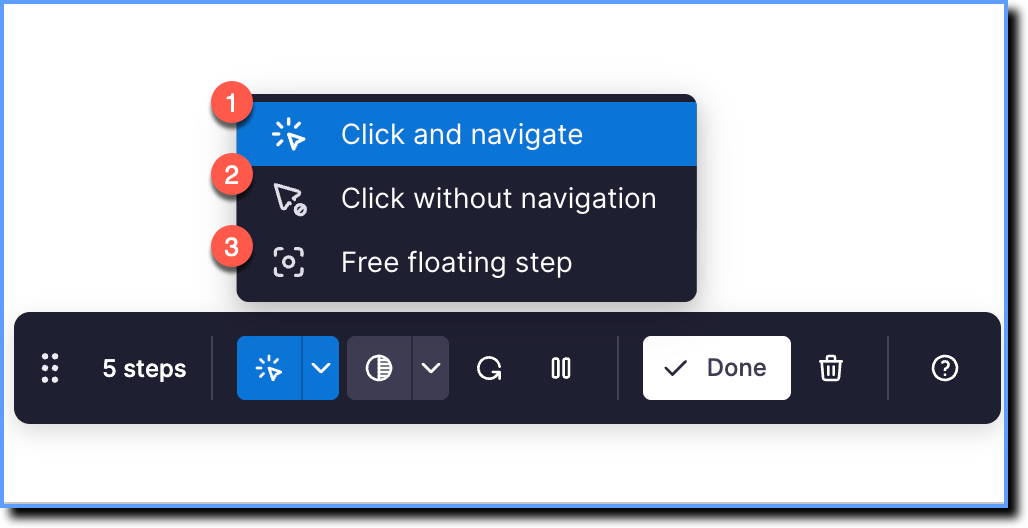
- Free floating step is currently Beta. Contact support@whatfix.com for more information.
- For more information on different capture modes, see Quick Capture Modes.
-
Click the desired elements on the application page.

-
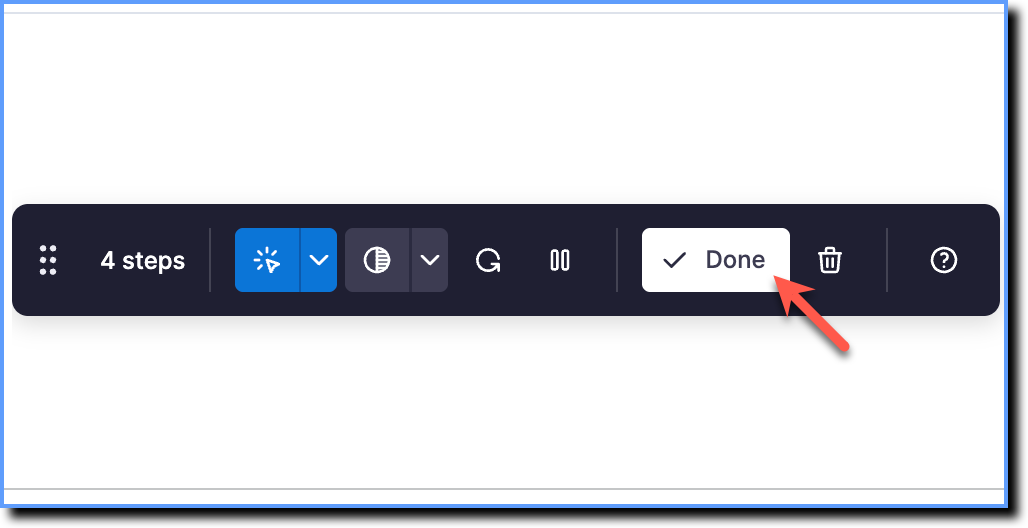
After you have captured the required steps, click Done.
-
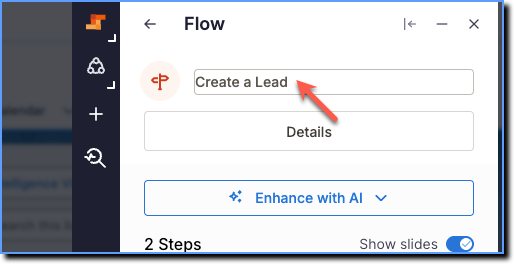
Enter the name of the Flow.
-
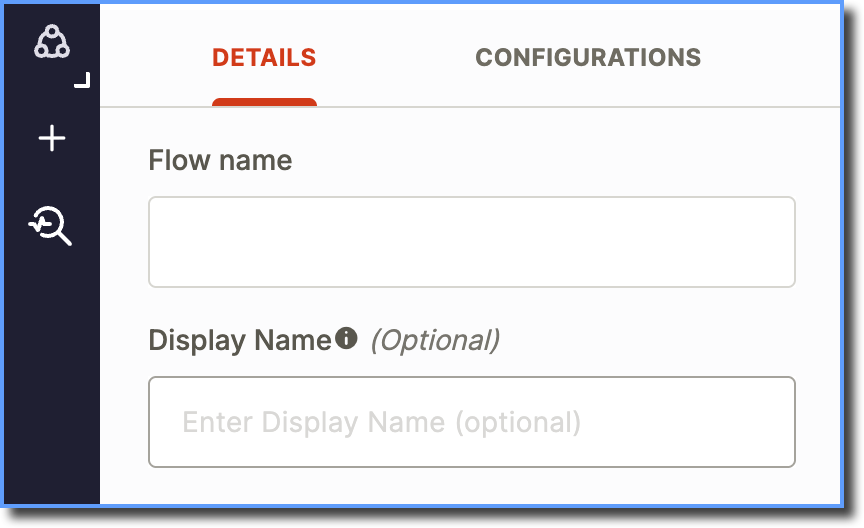
Whatfix enables you to add a Display Name for your end users. Use the Content Name for internal tracking, such as region, role, module, or release codes.
Users then see the Display Name in the Self Help, Task List widgets, Hub, Flow Automation Popups and Exports. For more information, see Add a Display Name to Whatfix Content.
-
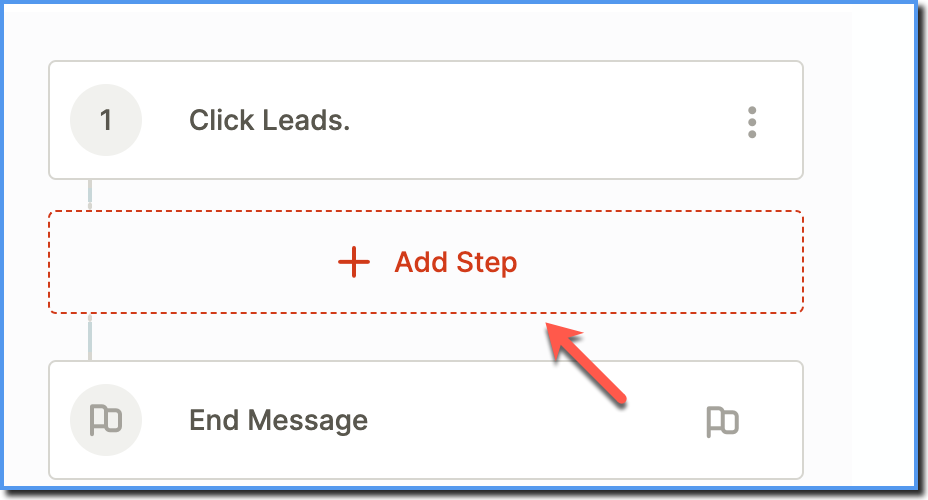
To capture additional steps, click Add Step.
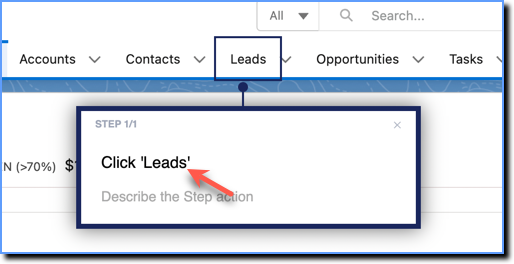
Review or edit the auto generated action text on the step.
Info:
Enter any additional information that you want to provide in the description section of the tooltip.
Under Configurations, expand Appearance.
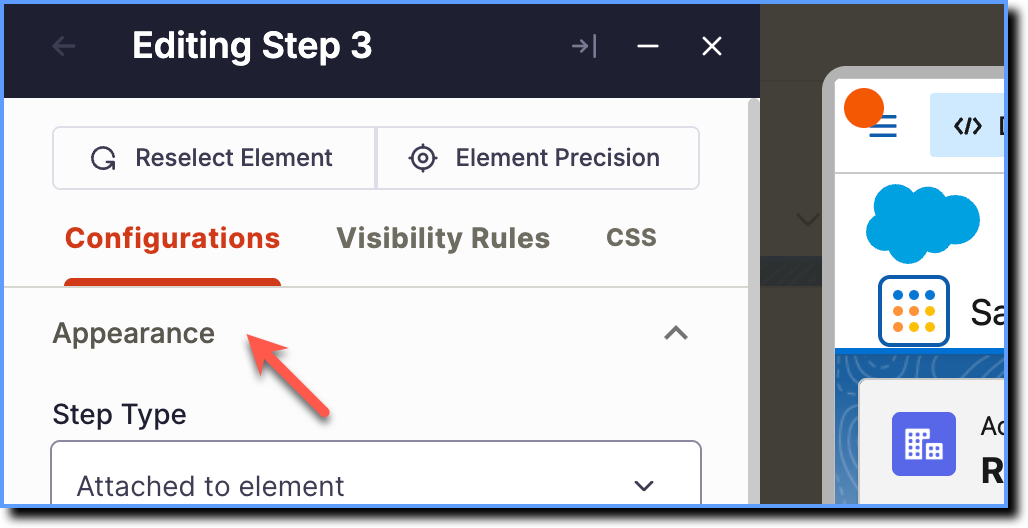
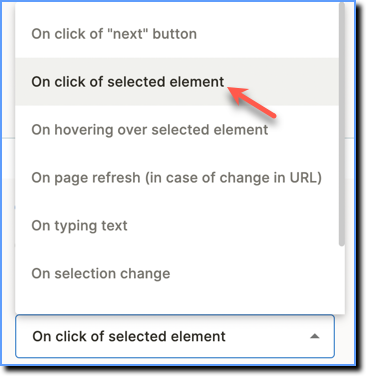
Under the Step Completion Rules section, select On click of selected element as the Step Completion rule.
Info:
For more information on Step Completion Rules, see Define step completion rules.
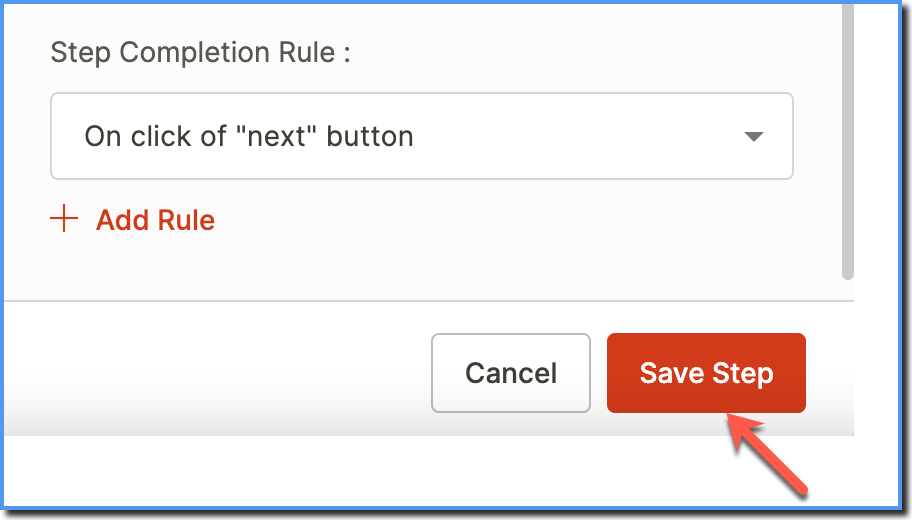
Click Save Step.
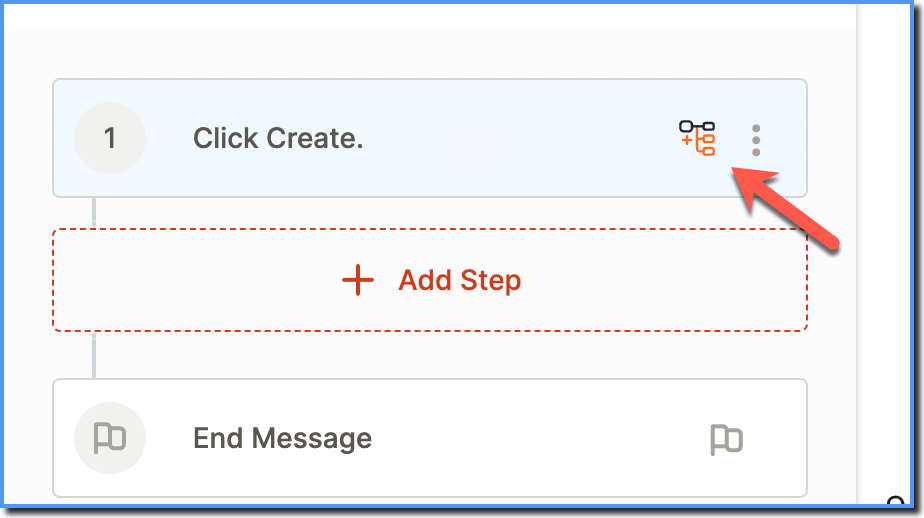
Hover your cursor over the step you want to create a branch, and then click the branching icon.
Create a Branched Flow using one of the following ways:
Create new Flow
Add existing Flow
Create a Branch
Use the following steps to create a Branch Flow:
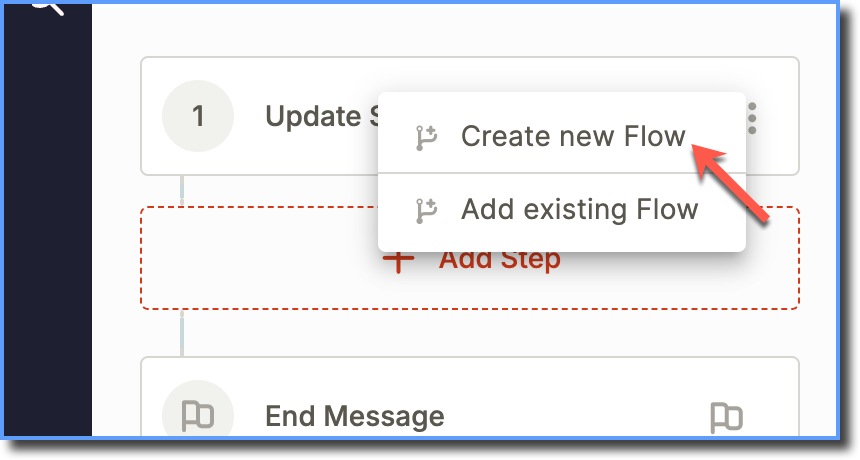
Once you click the Branch icon, click Create new Flow.
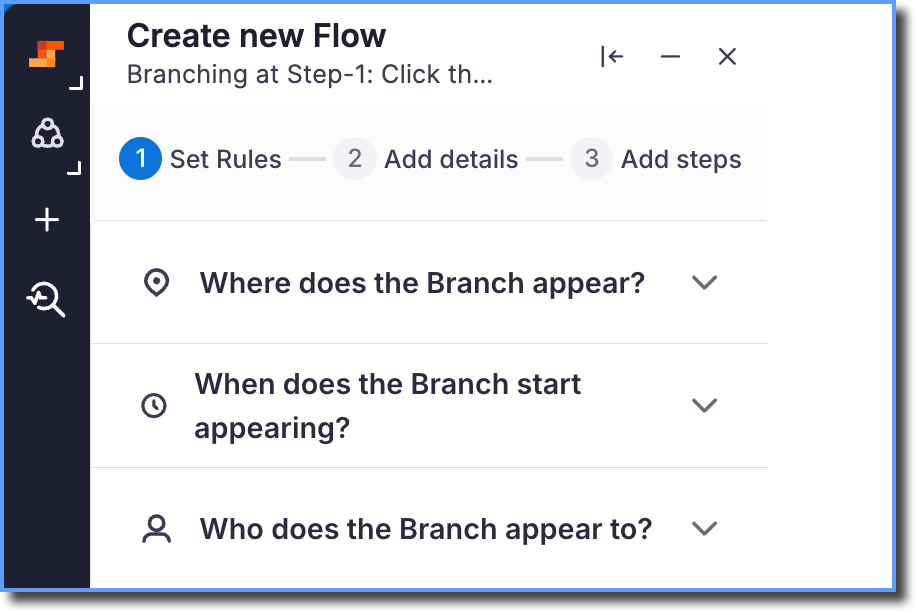
On the Set Rules page, set the following conditions:
Where does the Branch appear?
When does the Branch start appearing?
Who does the Branch appear to?
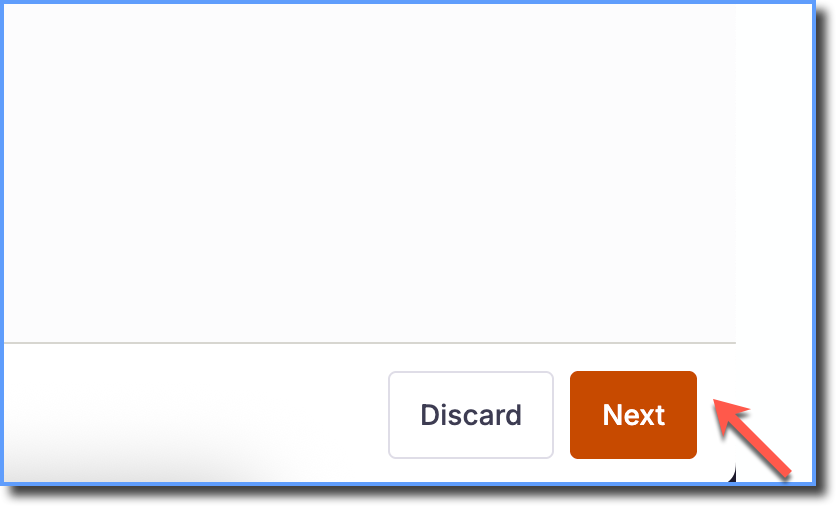
Click Next.
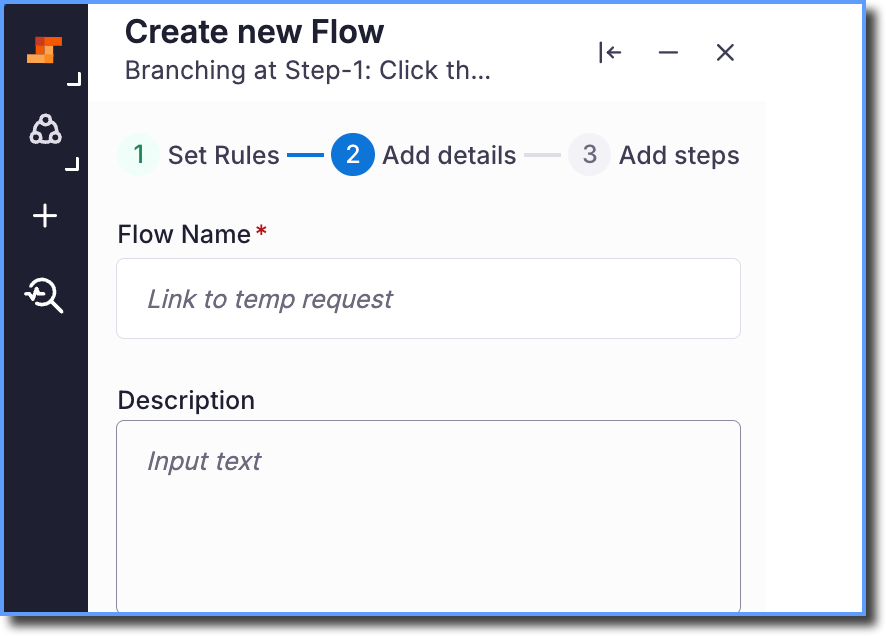
On the Add Details page, enter the Flow Name and Description.
Note:
The Description text is solely for your (Content author's) reference and is not visible to your end users.
The maximum character limit for Branch description is 100 characters.
Click Next.
On the Add steps page, Click Add Step.

Click the desired element on the page that the user needs to select.
Review or edit the auto-generated action text on the step.
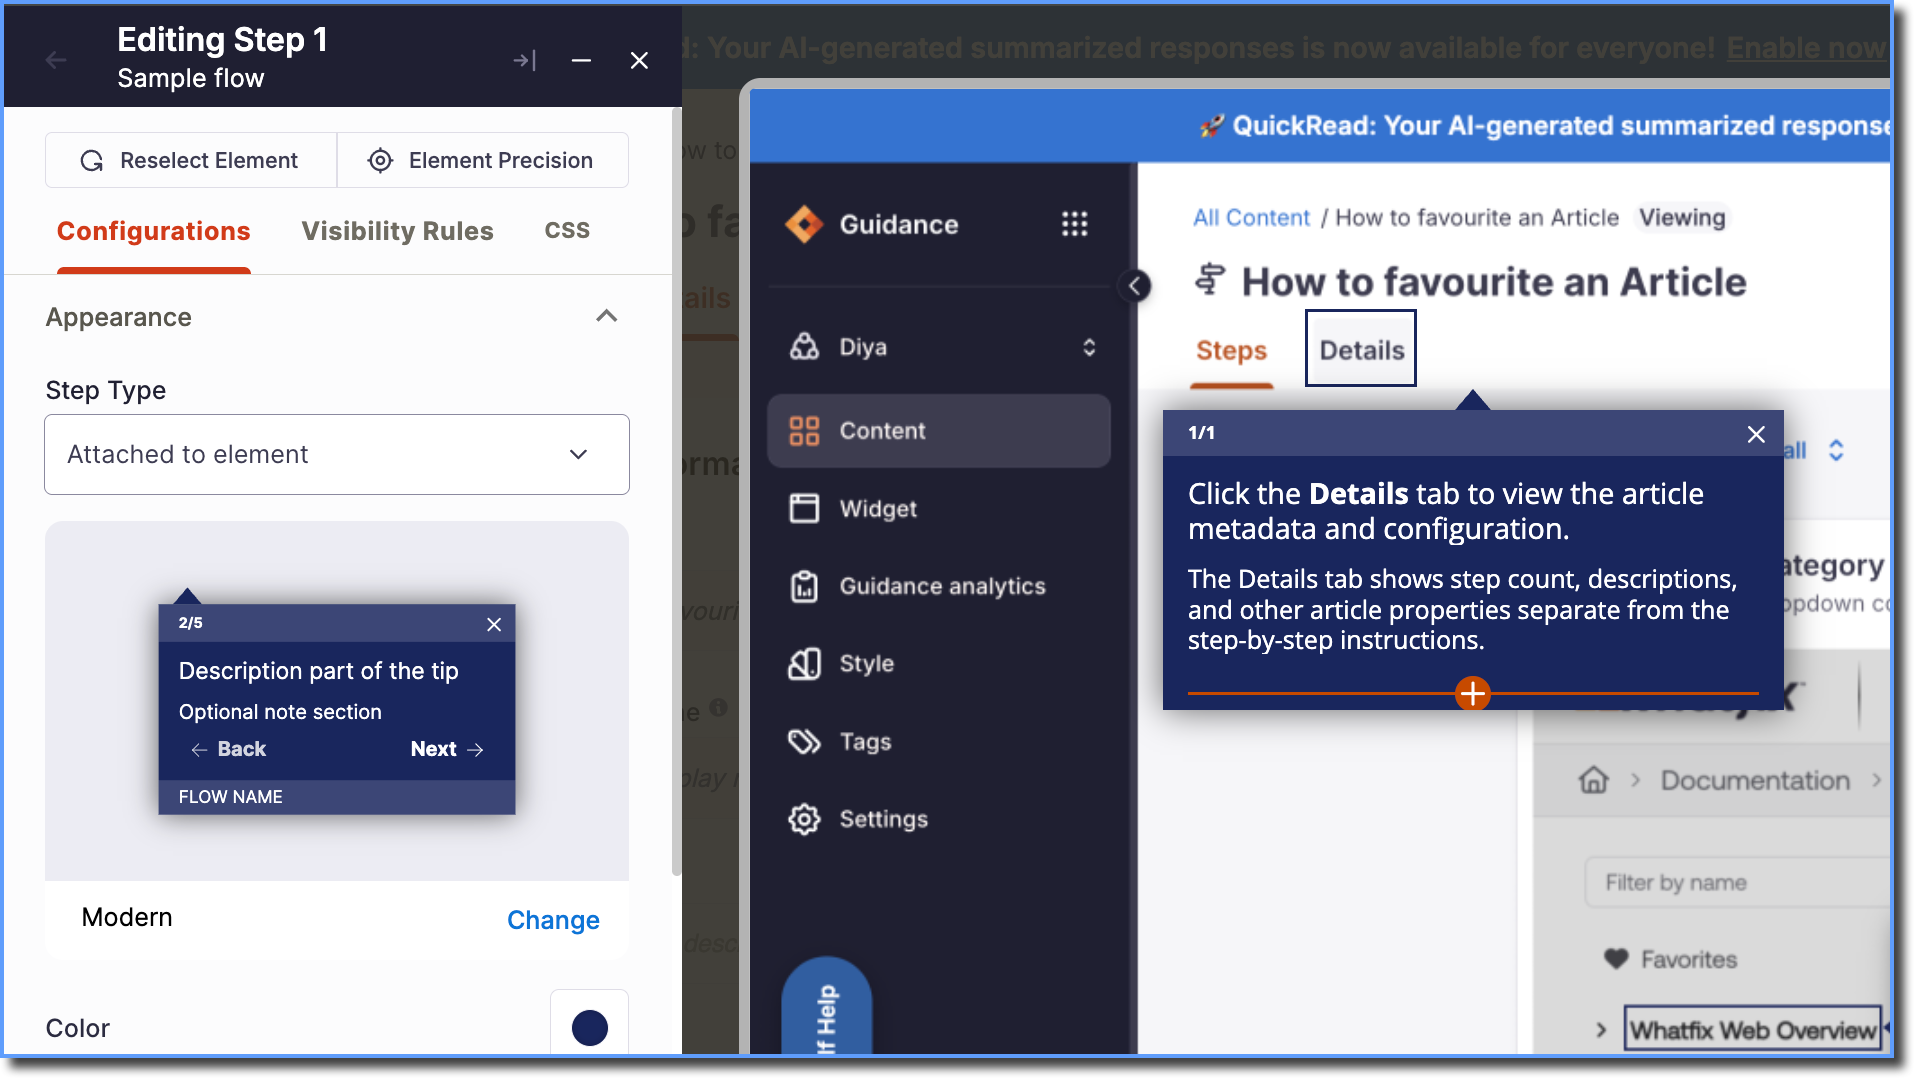
Under Configurations, expand Appearance.
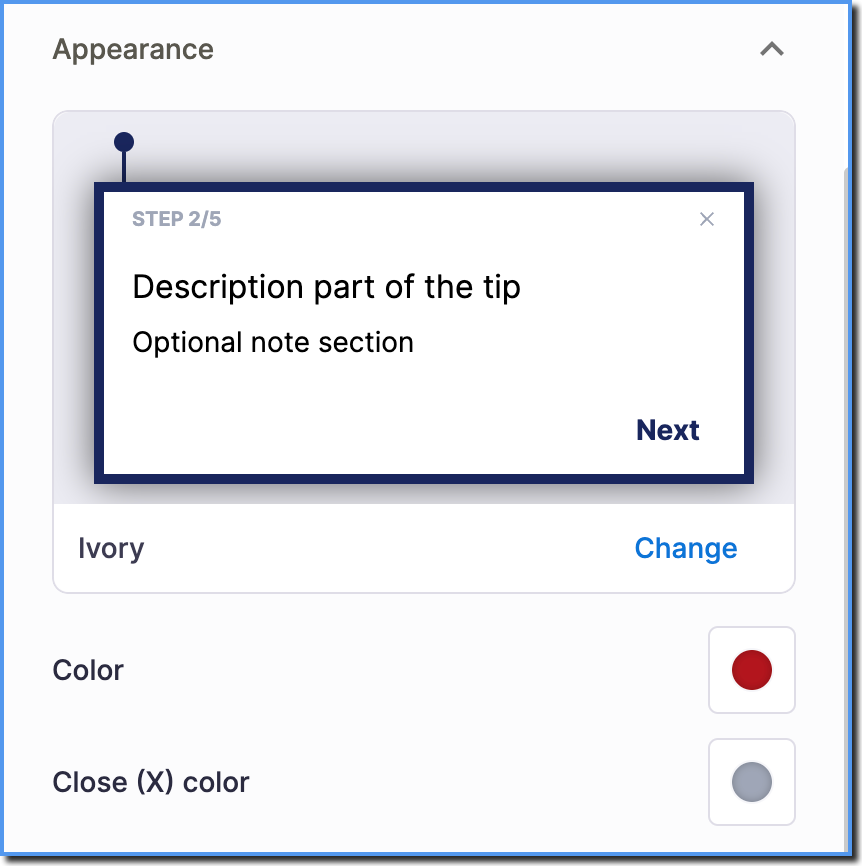
Change the following configurations:
a. Select a Tool tip appearance from the available options.
b. Select the tip Color from the existing color picker or enter the hex code of the desired color.
c. Select the Close (X) color from the existing color picker or enter the hex code of the desired color.
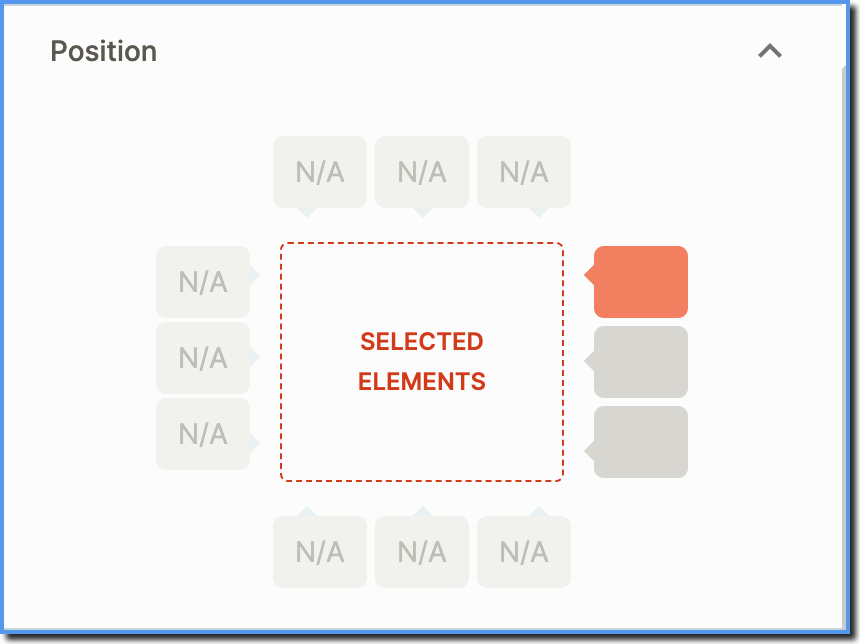
Expand Position and select the desired position of the tooltip.
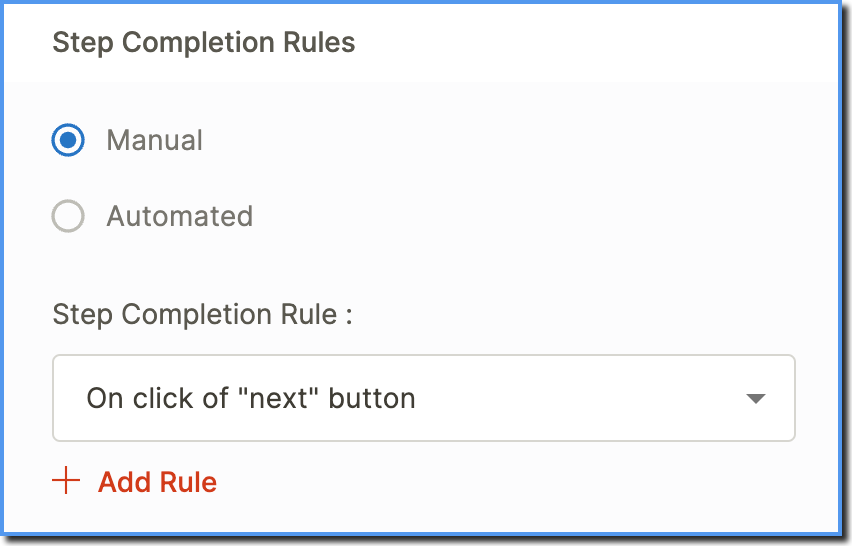
Under the Step Completion Rules section, select the desired rule. For more information on the Step Completion Rules, see Define step completion rules
Click Save Step.
Go to where you want to start the next step and then click Add Step on the Studio.
Repeat steps 6 to 13 to add additional steps.
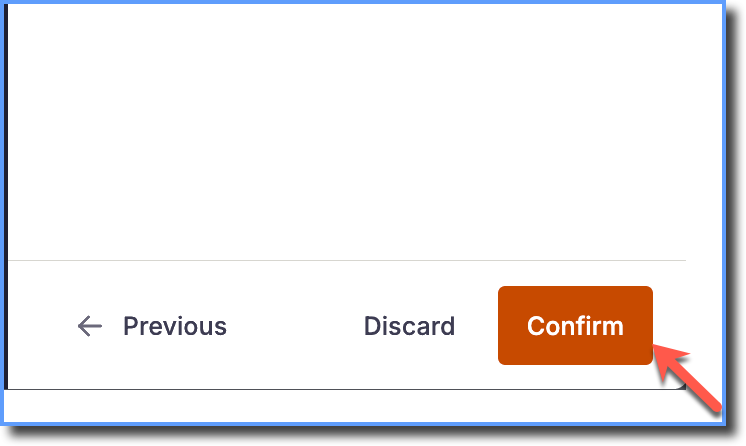
After saving all steps, click Confirm.
Info:
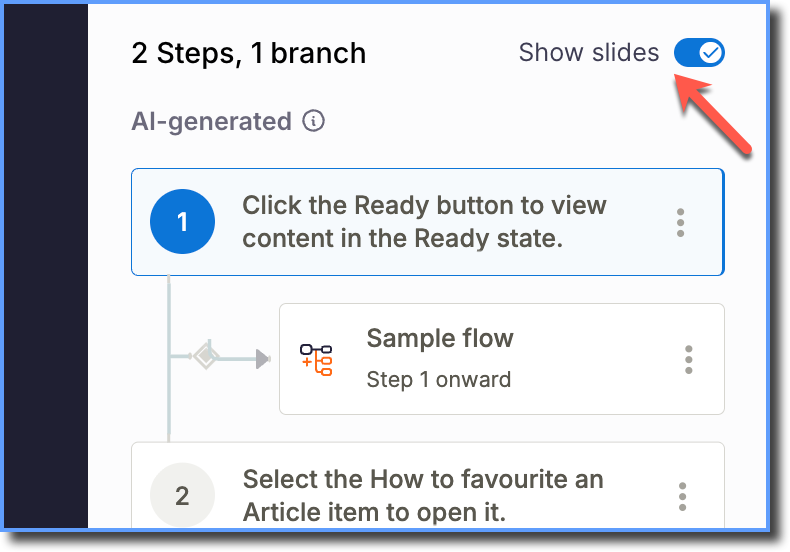
Once you create a Branch Flow, toggle the Show Slides button to see the Flow Slides and Branch Map.
Click on Branch Map to see the Flow in a flowchart.
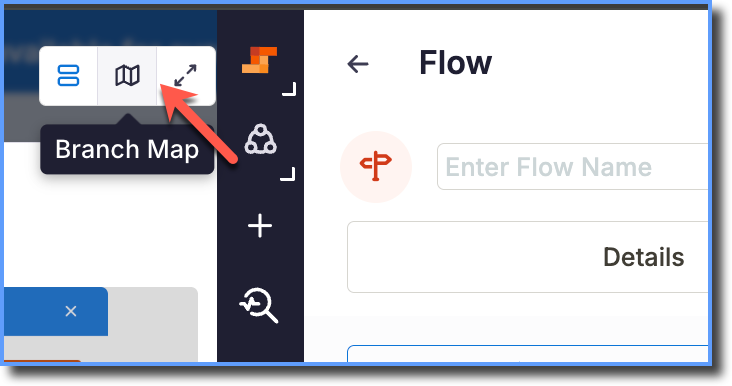
A flowchart that displays a single-view representation of how the entire Flow appears.

Optional and Automated steps show an Optional or Automated badge below their preview text in the flow chart. For more information, see Visualize the Branching in a Flow.
Once the branch is created, click Save Flow.

Info:
In the same way Multi-level branches can also be created. The Multi-level Branch Creation feature enables you to create branched Flows while creating the main Flow or attach an existing flow to the main Flow. This eliminates the need to create flows and then attach them to the main flow while creating it.
The branched Flow is saved on your Dashboard and you can reuse the same Flow as a branch in other Flows.
Note:
Use the Whatfix Dashboard to update a branch in an existing flow.
Import Flow
Use the following steps to add a branch by adding an existing Flow:
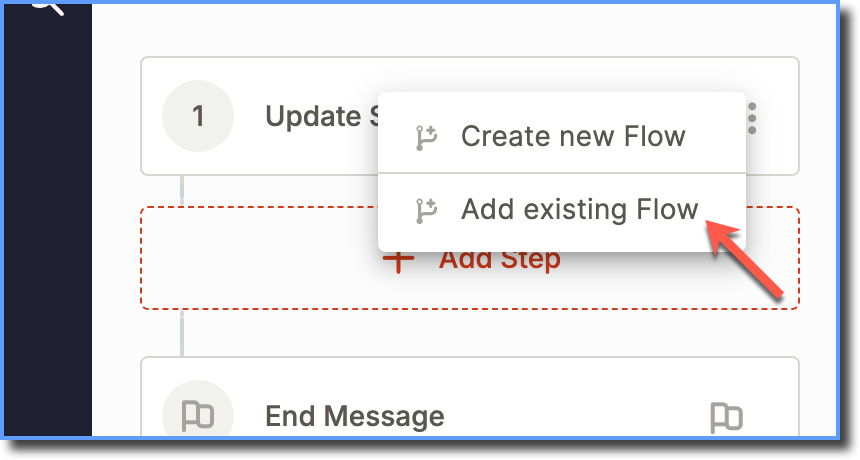
Once you click the Branch icon, click Add existing Flow.
On the Set Rules page, set the following conditions:
a. Where does the Branch appear?b. When does the Branch start appearing?
c. Who does the Branch appear to?
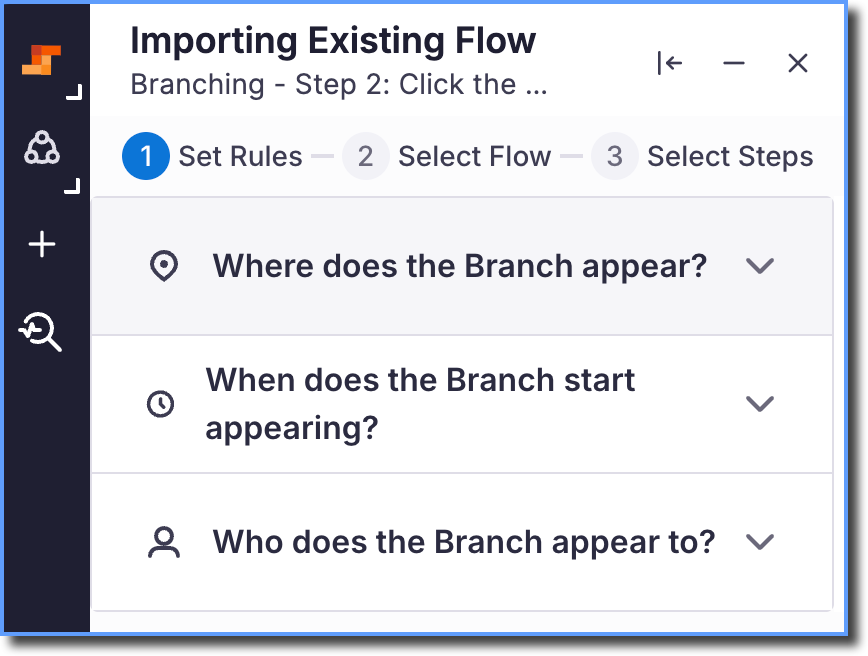
Click Next.
next(1).png?sv=2026-02-06&spr=https&st=2026-11-12T07%3A34%3A09Z&se=2026-11-12T07%3A48%3A09Z&sr=c&sp=r&sig=UelXOKIizssngkWXwmH2Rgap96fxg09Rka98OcDFPKk%3D)
On the Select Flow page, select the Flow you want to import.
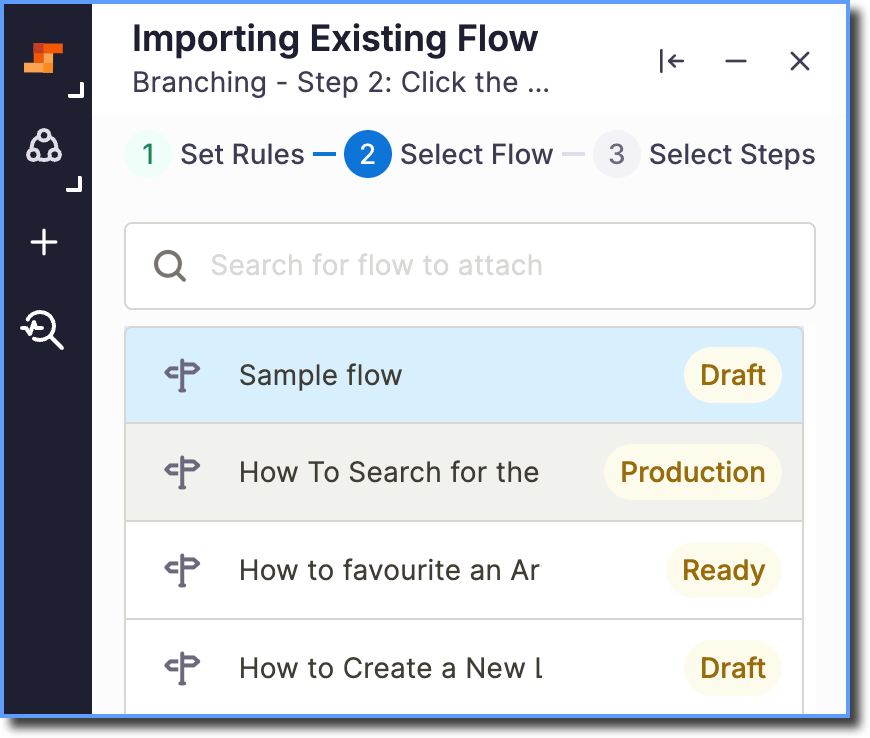
Click Next.
On the Select Steps page, select the Flow steps:
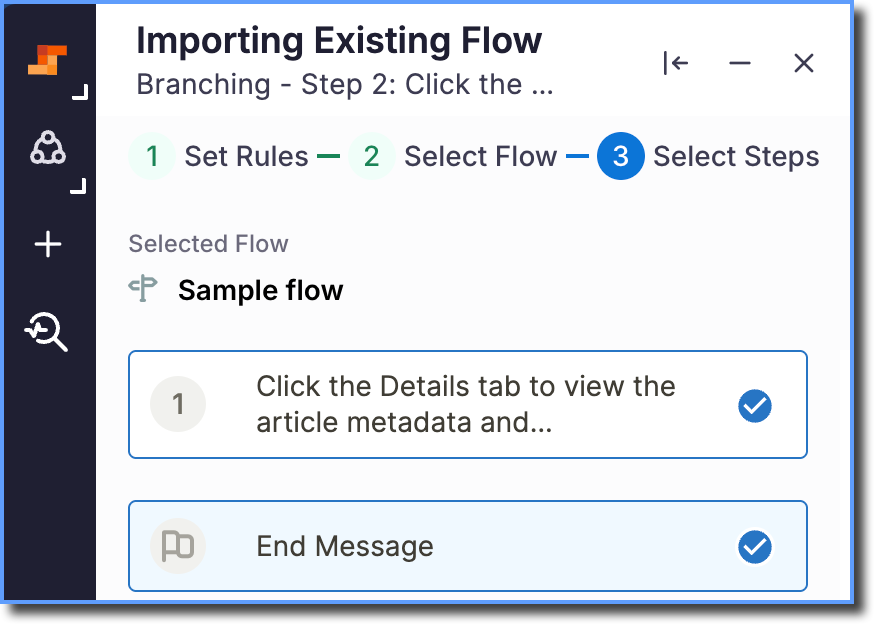
After selecting the steps, click Save.
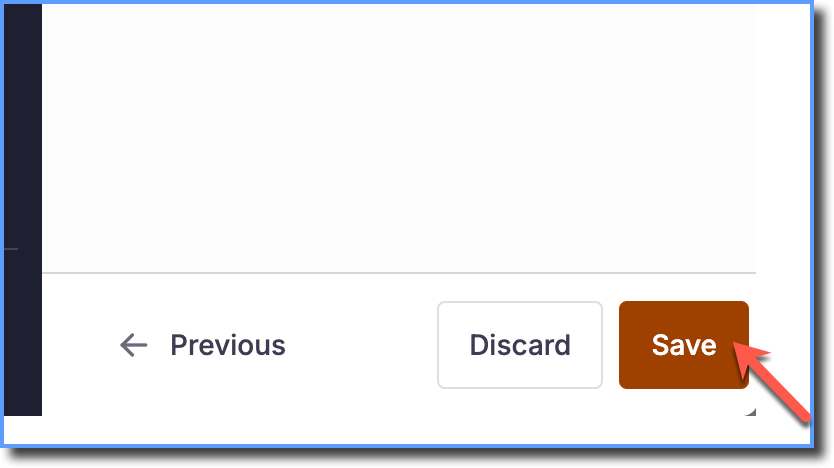
Info:
Once you add a Branch Flow, toggle the Show Slides button to see the Flow Slides and Branch Map.
Click on Branch Map to see the Flow in a flowchart.
A flowchart that displays a single-view representation of how the entire Flow appears.
For more information, see Visualize the Branching in a Flow.
Optional and Automated steps show an Optional or Automated badge below their preview text in the flow chart. For more information, see Visualize the Branching in a Flow.
Click Save Flow.