Note:
Auto Flow Creation is a Beta feature supported only on Whatfix Mirror. To enable this feature, contact support@whatfix.com.
Currently, Branching of Flows is not supported.
Auto Flow Creation enables you to automatically generate Flows for Mirror Workflows with minimal effort. Each step in the Flow includes a tooltip you can use as a starting point for modifying content. This reduces manual effort and speeds up the process of building a step-by-step Flow.
Use the following steps to enable Auto Flow Creation:
-
Launch Whatfix Studio on your application.

-
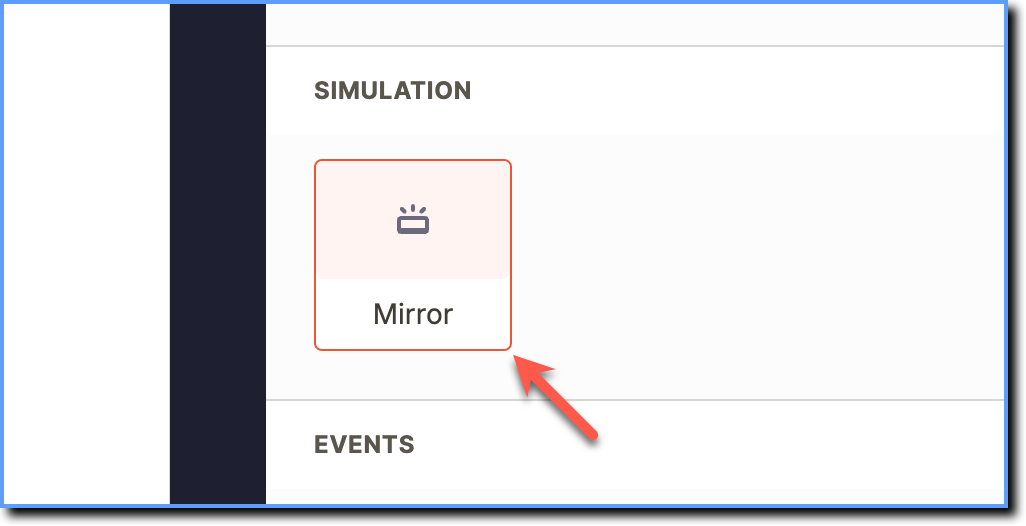
Click Mirror.

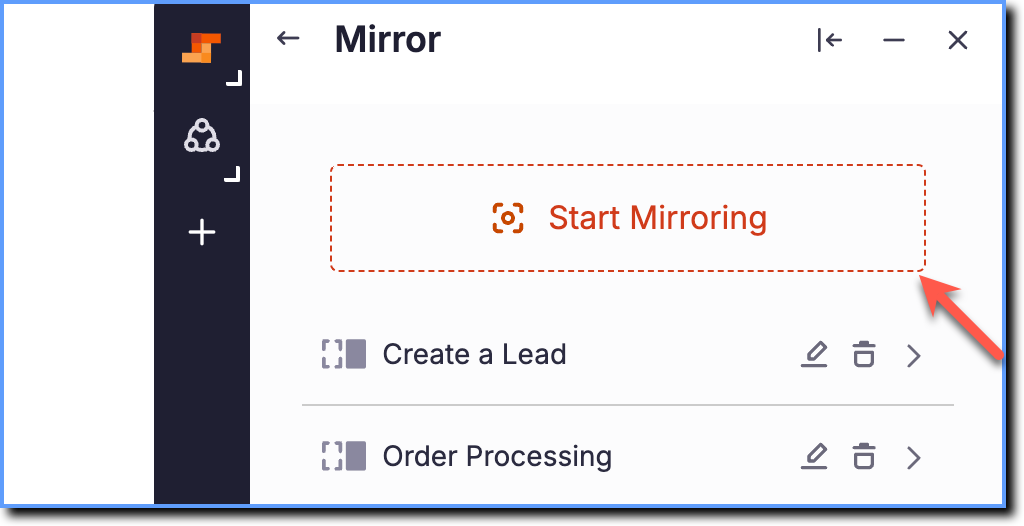
Click Start Mirroring.

Enter a name for your Workflow.

Select the Create guidance flow for the Workflow checkbox.

Select the UI element to capture the Workflow step.

Go to the next UI element of the Workflow step you want to capture, and then repeat step 6 until all required Workflow steps are captured .
Note:
Whatfix enables you to add additional screens to an existing Workflow. This caters to situations where you may have identified additional steps within your Workflow that require user guidance after the initial mirroring is completed.
If you want to add additional screens, click Add more screens.

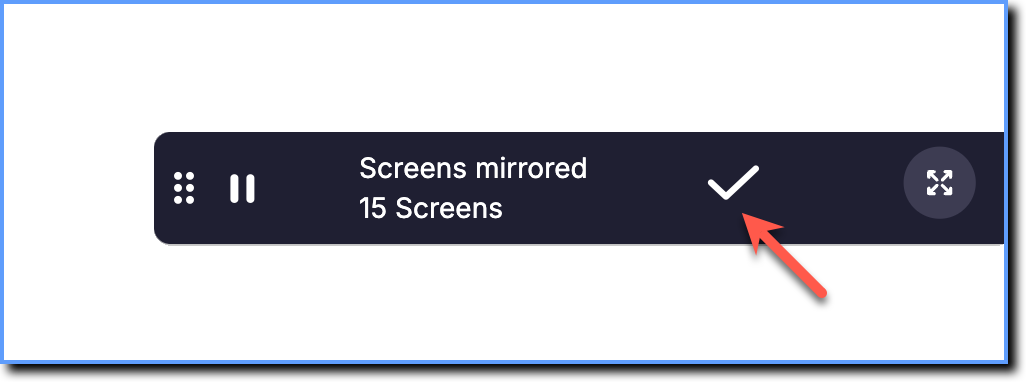
After you have captured the screens, click the Done icon.

Info:
Whatfix automatically creates a Flow which appears in the Ready stage of the Whatfix Guidance dashboard in the following format: Flow - <Workflow Name>.
Each step in the Flow includes a tooltip that serves as a starting point for content creation. Use Launch live edit to modify the content as required. For more information, see Edit a Flow.
By default, Whatfix sets the Flow's source URL to the application where you captured the Mirror Workflow.
