Note:
Branching Rules are now available as New Visibility Rules in Studio.
Previously, Branching rules offered only basic visibility conditions, offering minimal control over where and to whom the branch would appear. To apply advanced logic, users often had to rely on Advanced Customization (AC), which created technical dependencies and slowed down content creation.
With New Visibility Rules for Branching on Studio, you can define exactly where, when, and for whom a Branch Flow appears. These rules apply only to the specific step they're configured on, making it easier to create more personalized and dynamic experiences.
The following table lists all the available conditions for configuring the Branching Rules. These conditions determine when, where, and to whom branches of a Flow are shown in your application.
Clause | Branching Rule Condition | Corresponding Previous Display Rule Condition | Description |
|---|---|---|---|
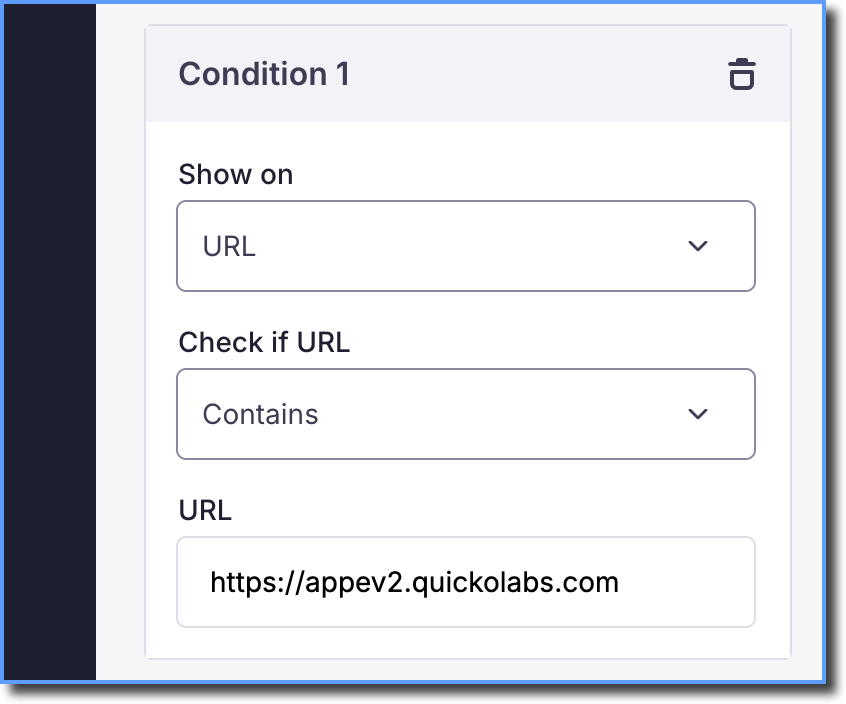
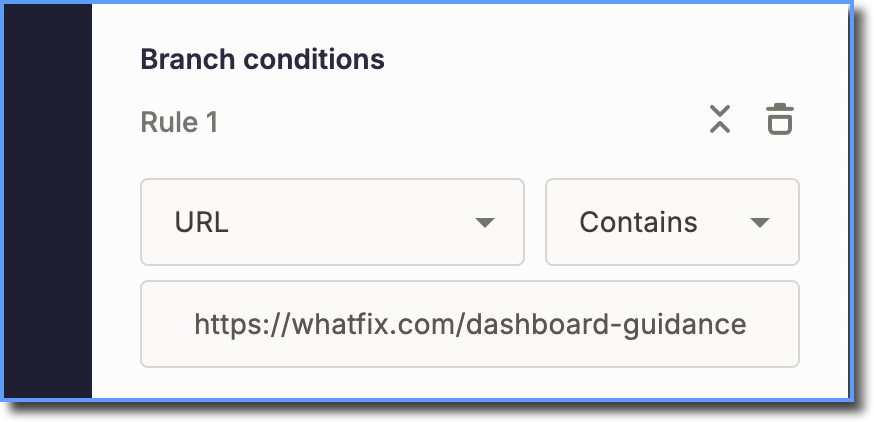
Where does the Branch appear? | URL | Show the Branch when the current page URL matches the specified URL. | |
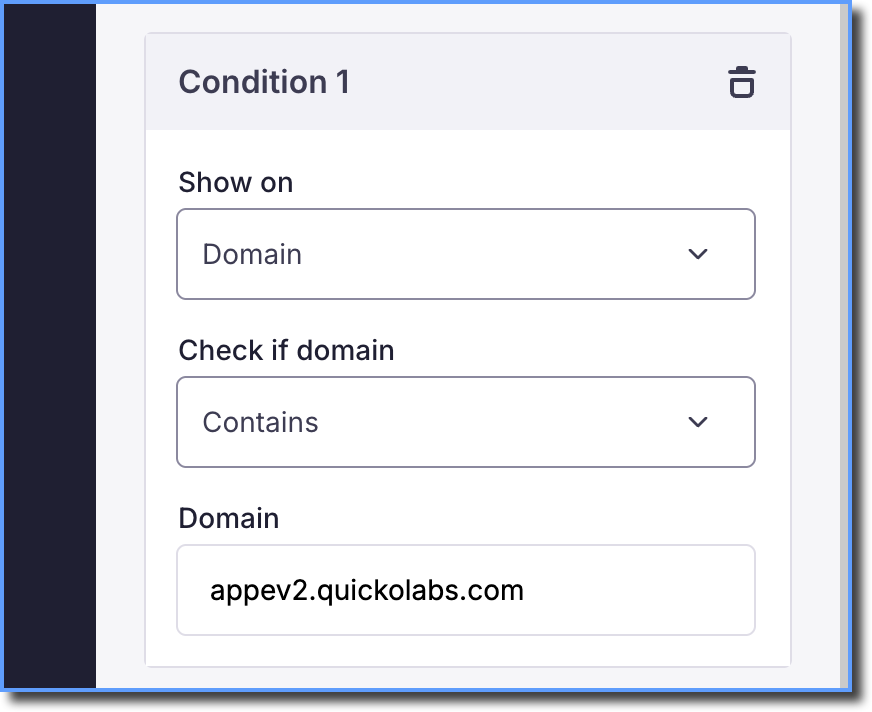
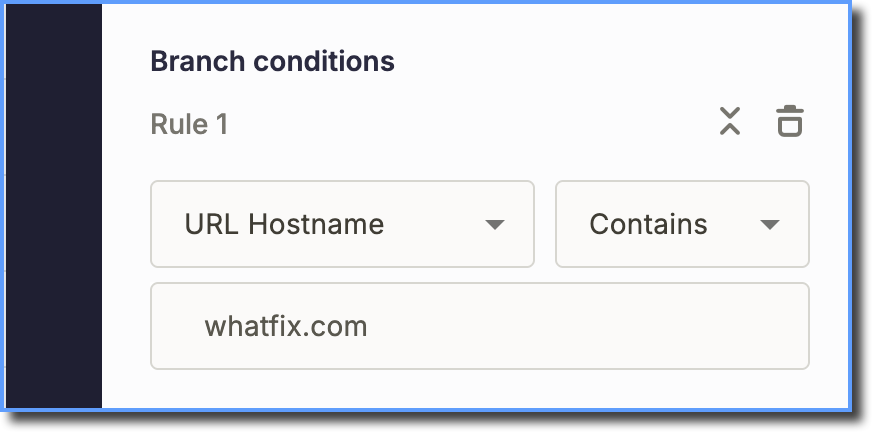
Domain | Show the Branch when the domain of the current page matches the configured domain. | ||
URL path | Show the Branch when the path of the current page URL matches the specified path. | ||
URL parameter | Show the Branch when the current page URL matches the specified URL parameter(s). | ||
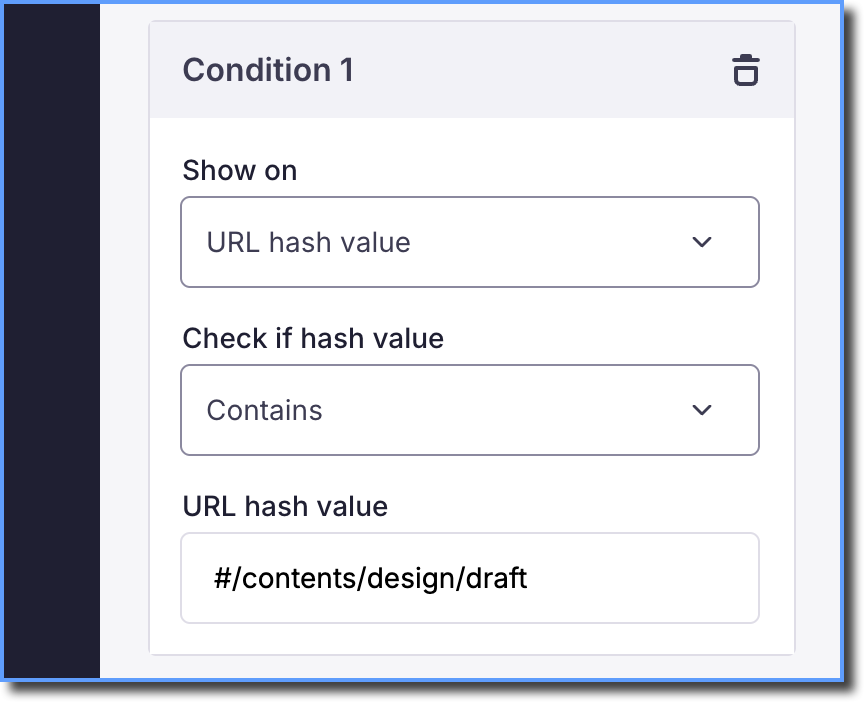
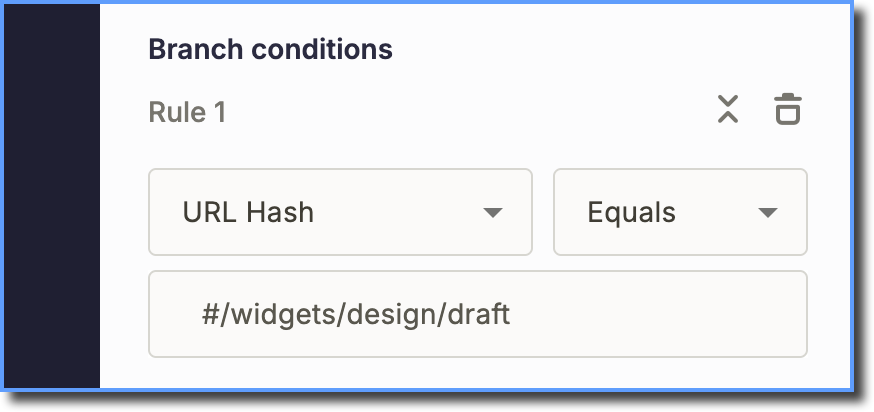
URL hash value | Show the Branch if the hash value in the URL matches the specified value. | ||
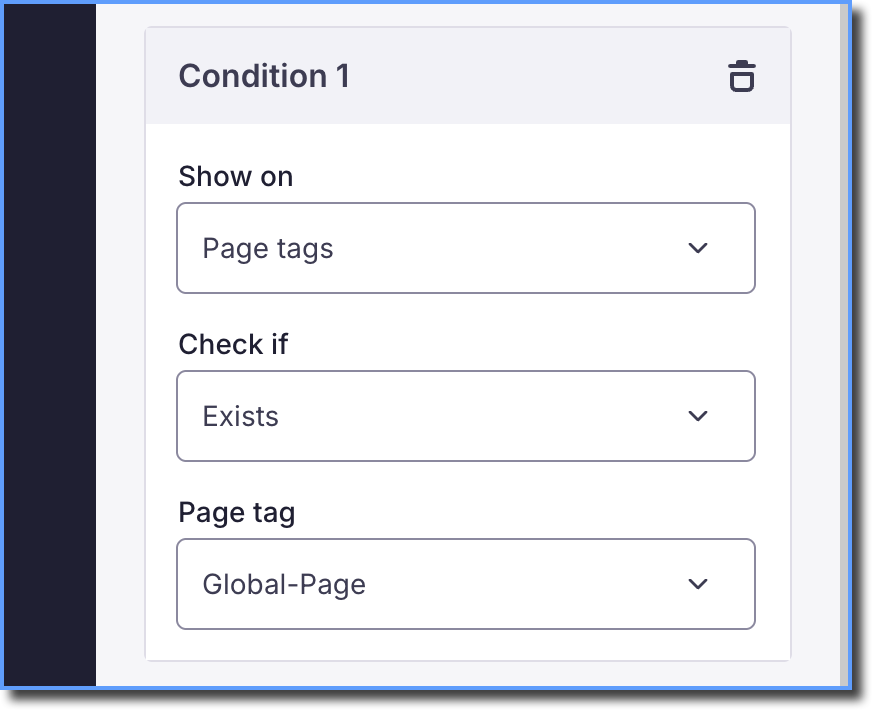
Page tags | NA | Show the Branch if the page has matching page tags. | |
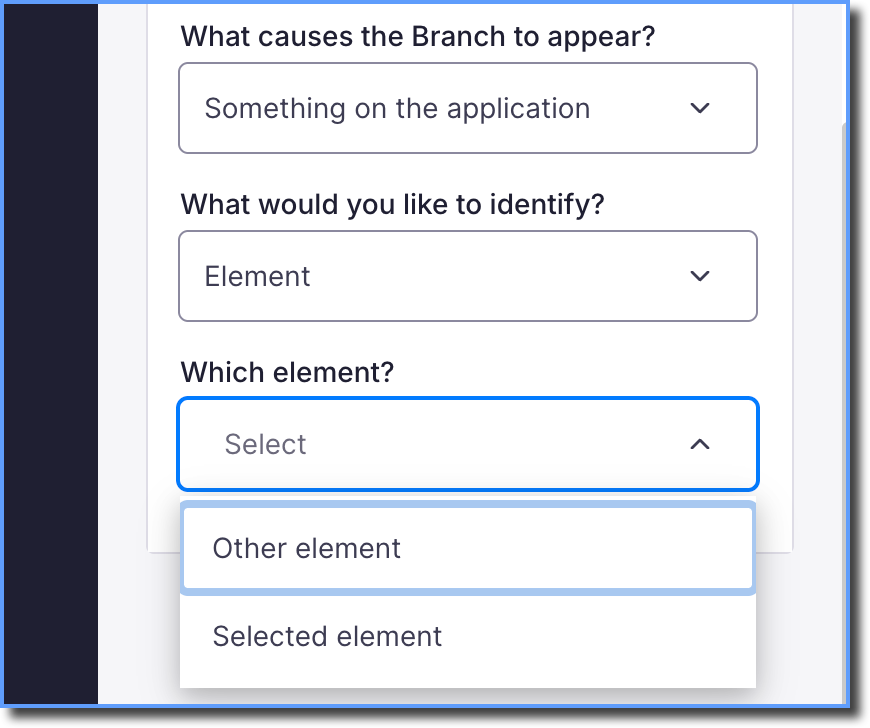
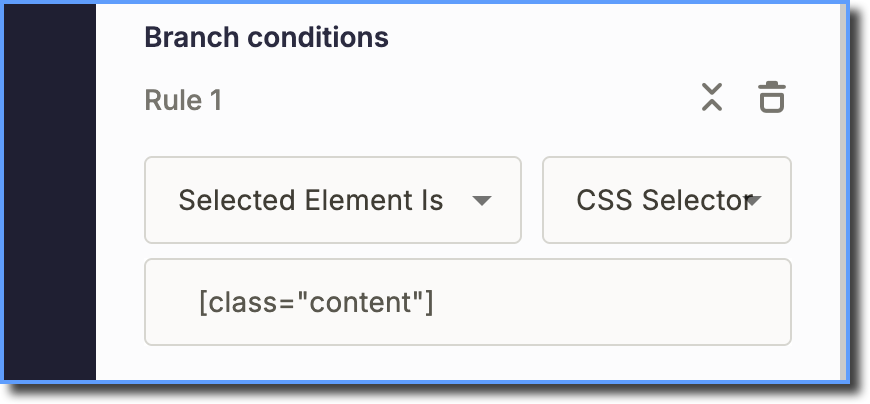
When will the Branch stop appearing? | Something on the application | Show the Branch based on the presence of a specific element on the page, such as an element, local storage value, cookie value, or more. | |
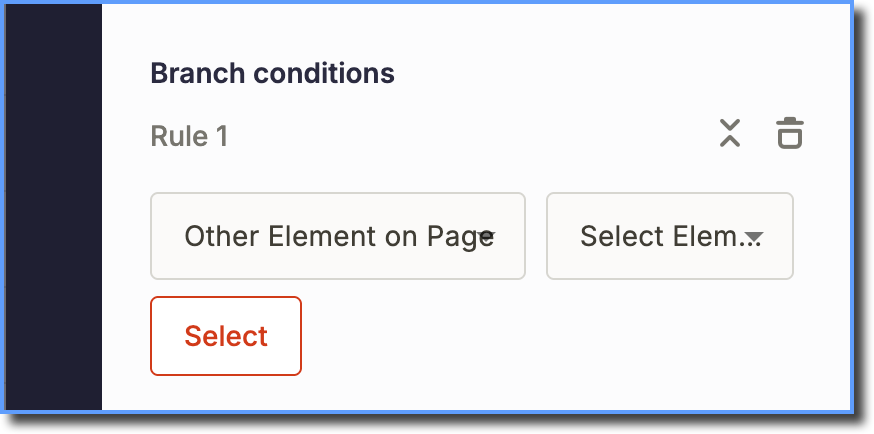
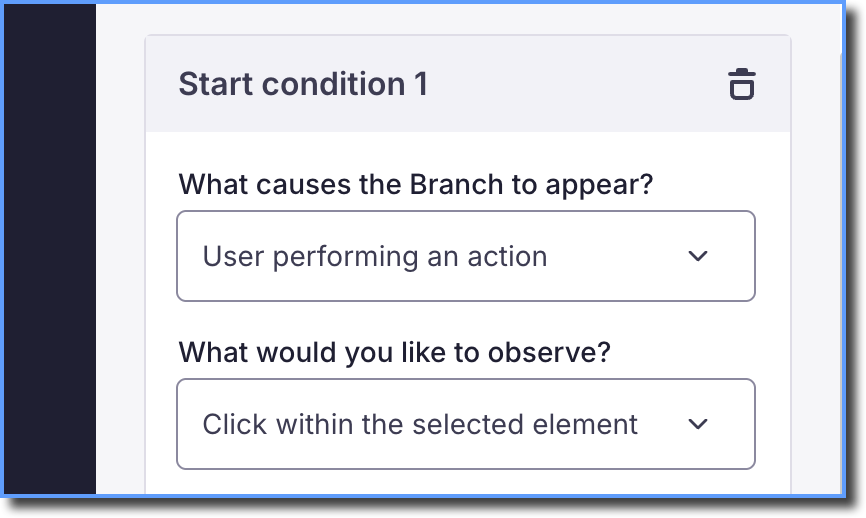
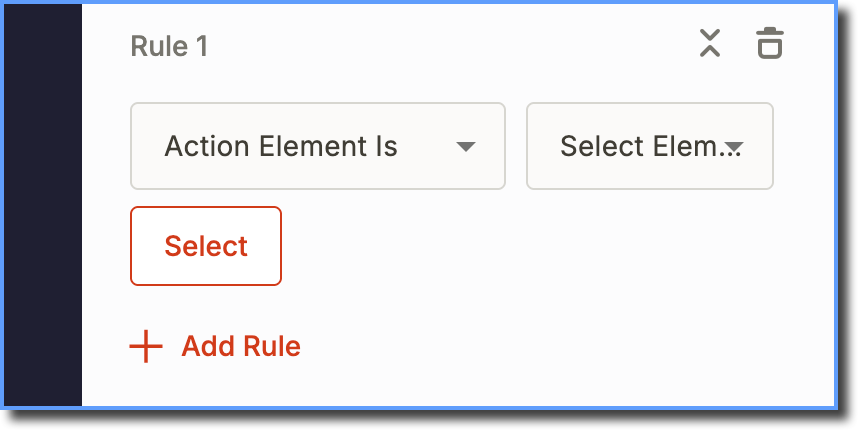
User performing an action | Previously referred to as Action Element rules, these rules enable you to show a branch when the end user interacts with a specific element on your application. This helps guide users down different paths in a Flow based on their interaction, ensuring the branched Flow is triggered only when the intended element is clicked. For more information, see Action Element conditions as Display Rules. | ||
Who does the Branch appear to? | Enterprise Attributes | Segment the Branch based on user roles, departments, geography, accounts, and more. | |
User Attributes | Segment the Branch based on end-user information from your application. | ||
Roles | NA | Show the branch to different users with the use of Role tags. For example, an admin user can be shown more and different content when compared to a basic user. | |
Cohorts
| NA | Show the Branch to specific user groups based on certain use cases. | |
Salesforce Objects
| NA | Salesforce Lightning objects are properties that help Whatfix serve relevant content to Salesforce Lightning users based on existing Salesforce Lightning properties that help identify different users. Using Salesforce Lightning objects helps you to show relevant content to your users. |
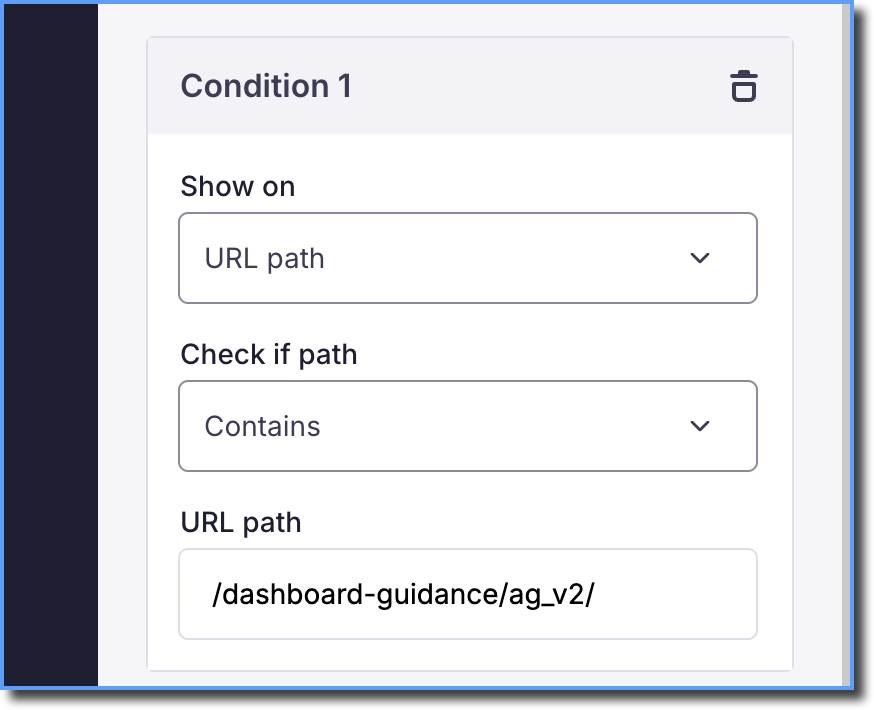
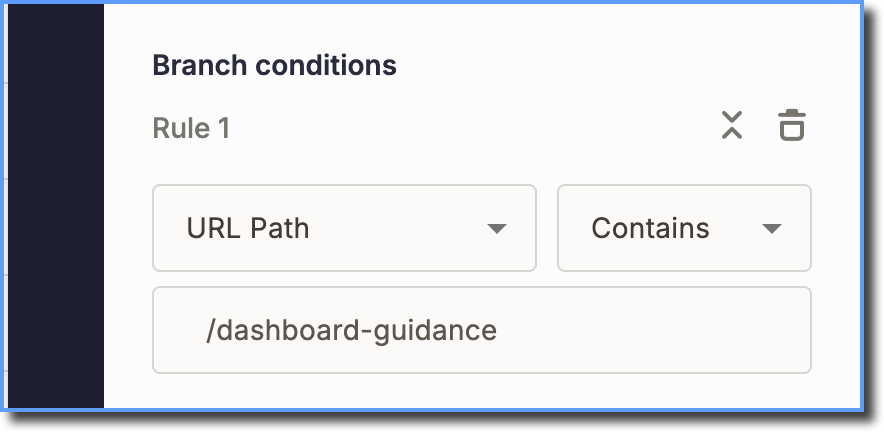
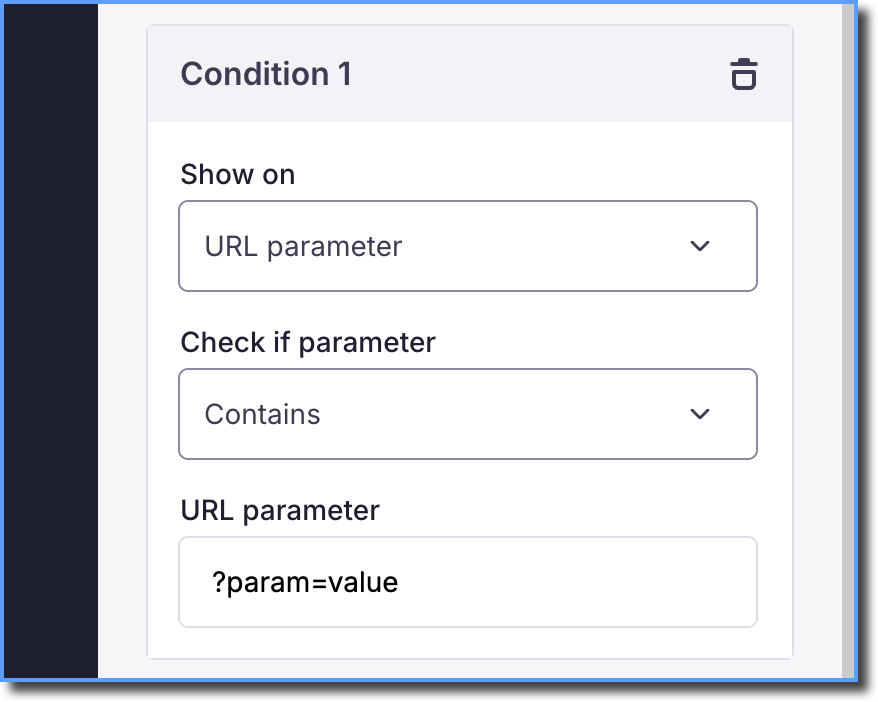
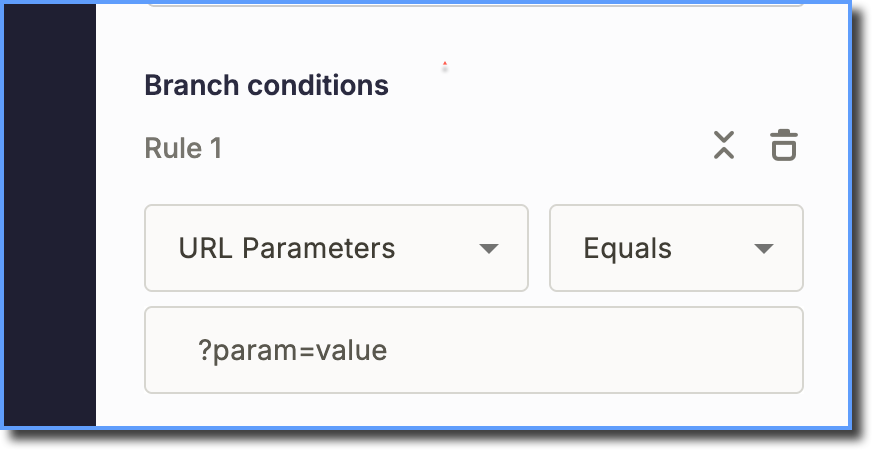
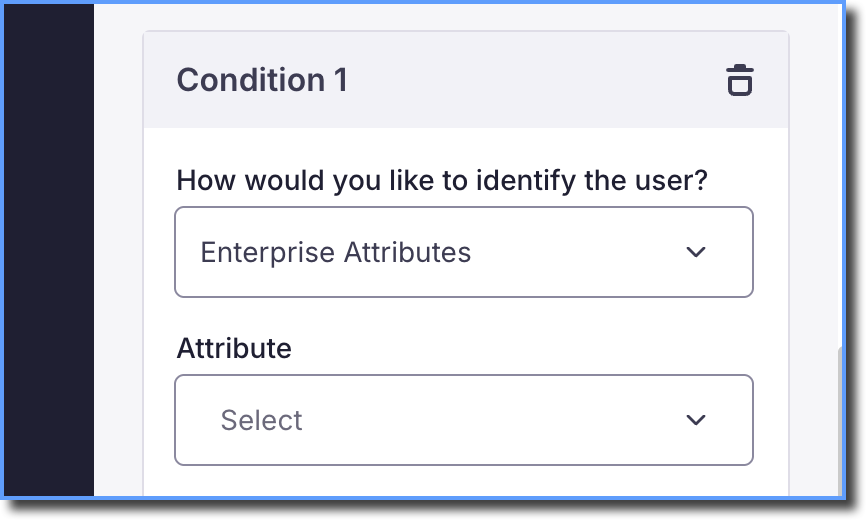
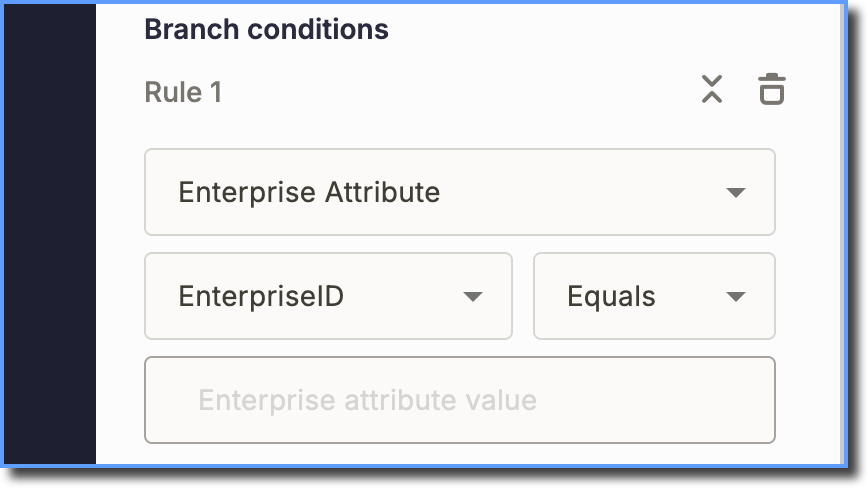
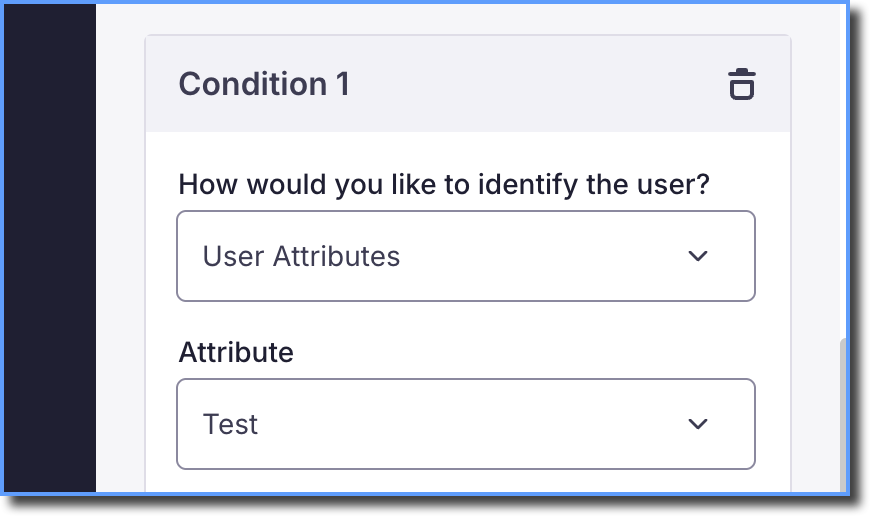
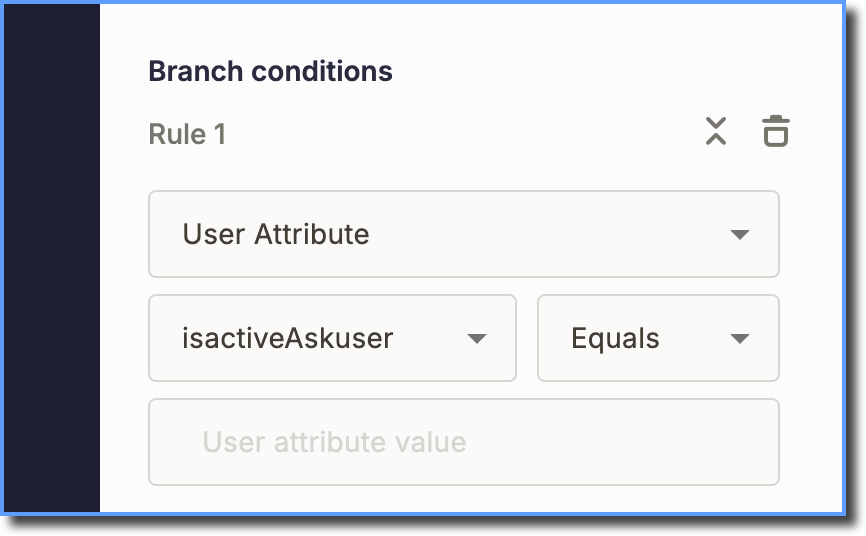
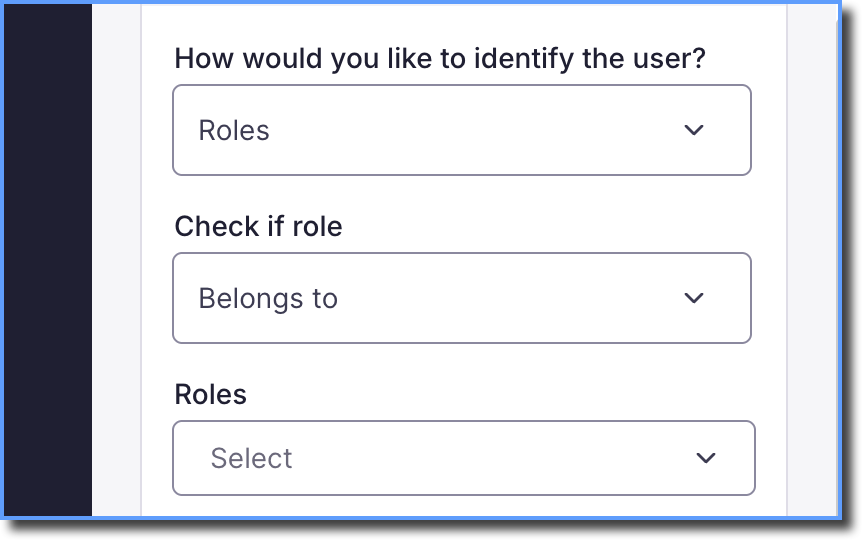
Use the following steps to configure New Visibility Rules for Branching:
Step 1: Create a Flow as per your requirement.
For more information, see Create a Flow.
Step 2: Add a branch to the Flow.
Whatfix enables you to create branched Flows in the following two ways:
Create new Flow
Add existing Flow
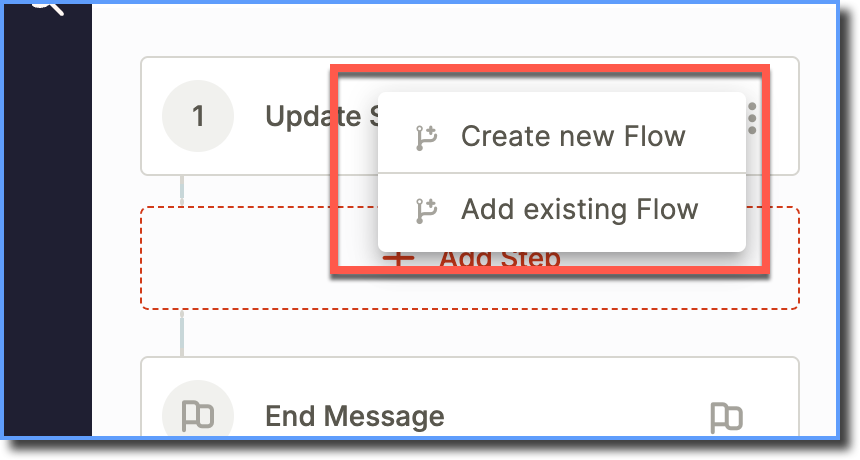
Click the following accordions for more details.
Create a new Flow
Use the following steps to create a Branch Flow:
Once you click the Branch icon, click Create new Flow.
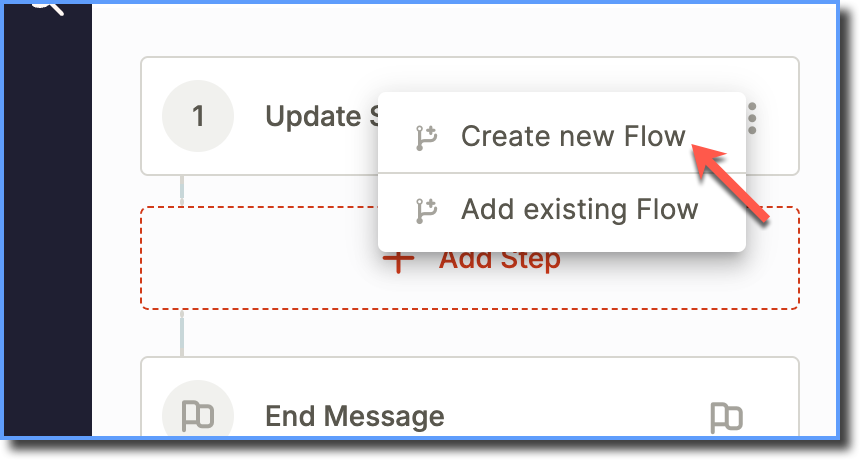
On the Set Rules page, set the following conditions:
Where does the Branch appear?
When does the Branch start appearing?
Who does the Branch appear to?
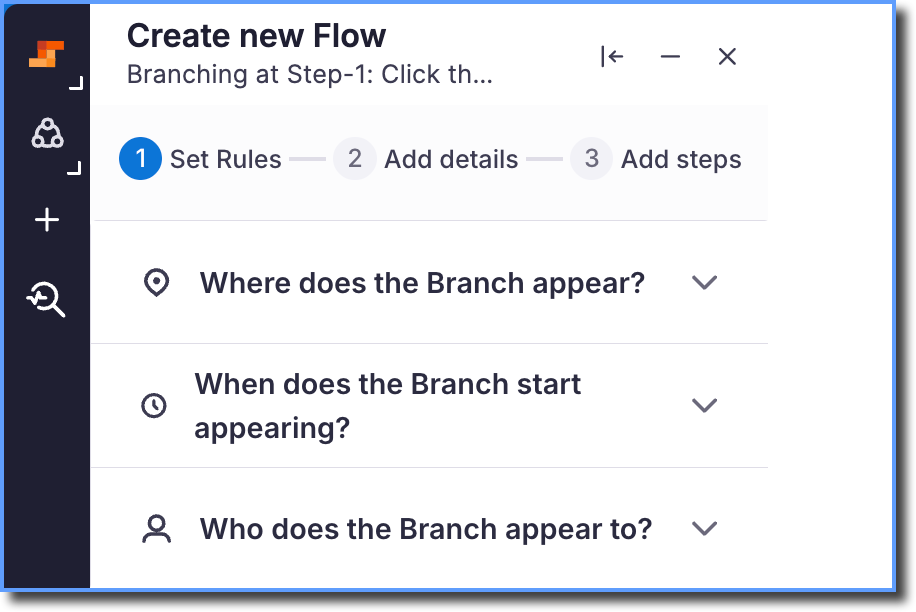
Click Next.
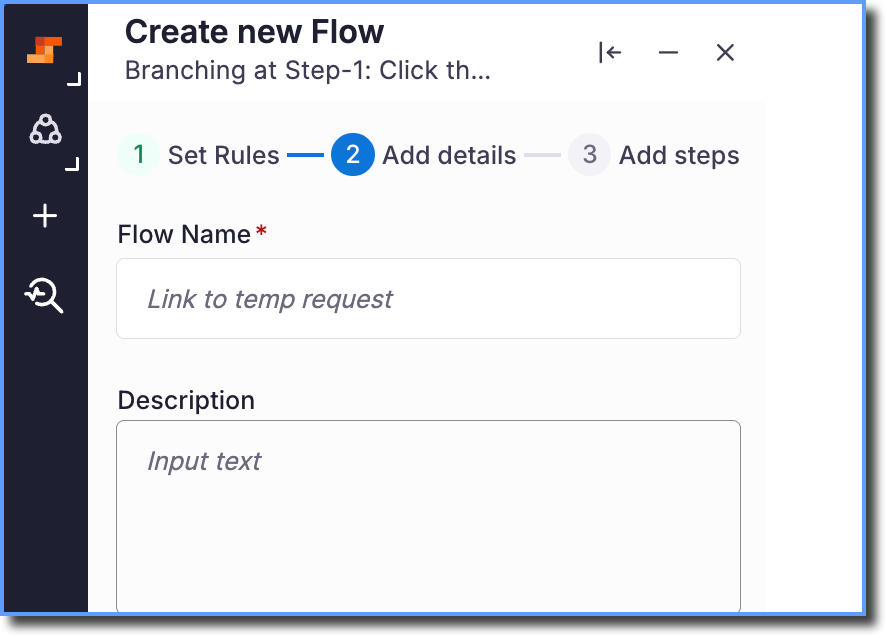
On the Add Details page, enter the Flow Name and Description.
Note:
The Description text is solely for your (Content author's) reference and is not visible to your end users.
The maximum character limit for Branch description is 100 characters.
Click Next.
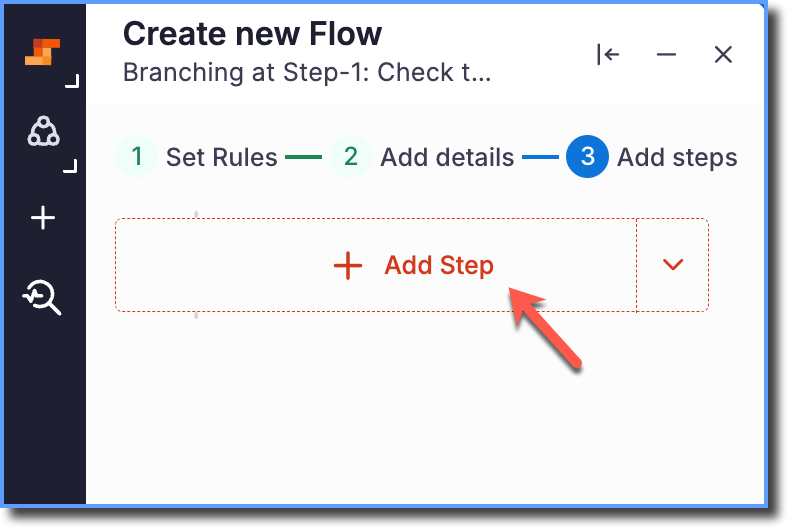
Click Add Step.
Click the desired element on the page that the user needs to select.
Review or edit the auto-generated action text on the step.
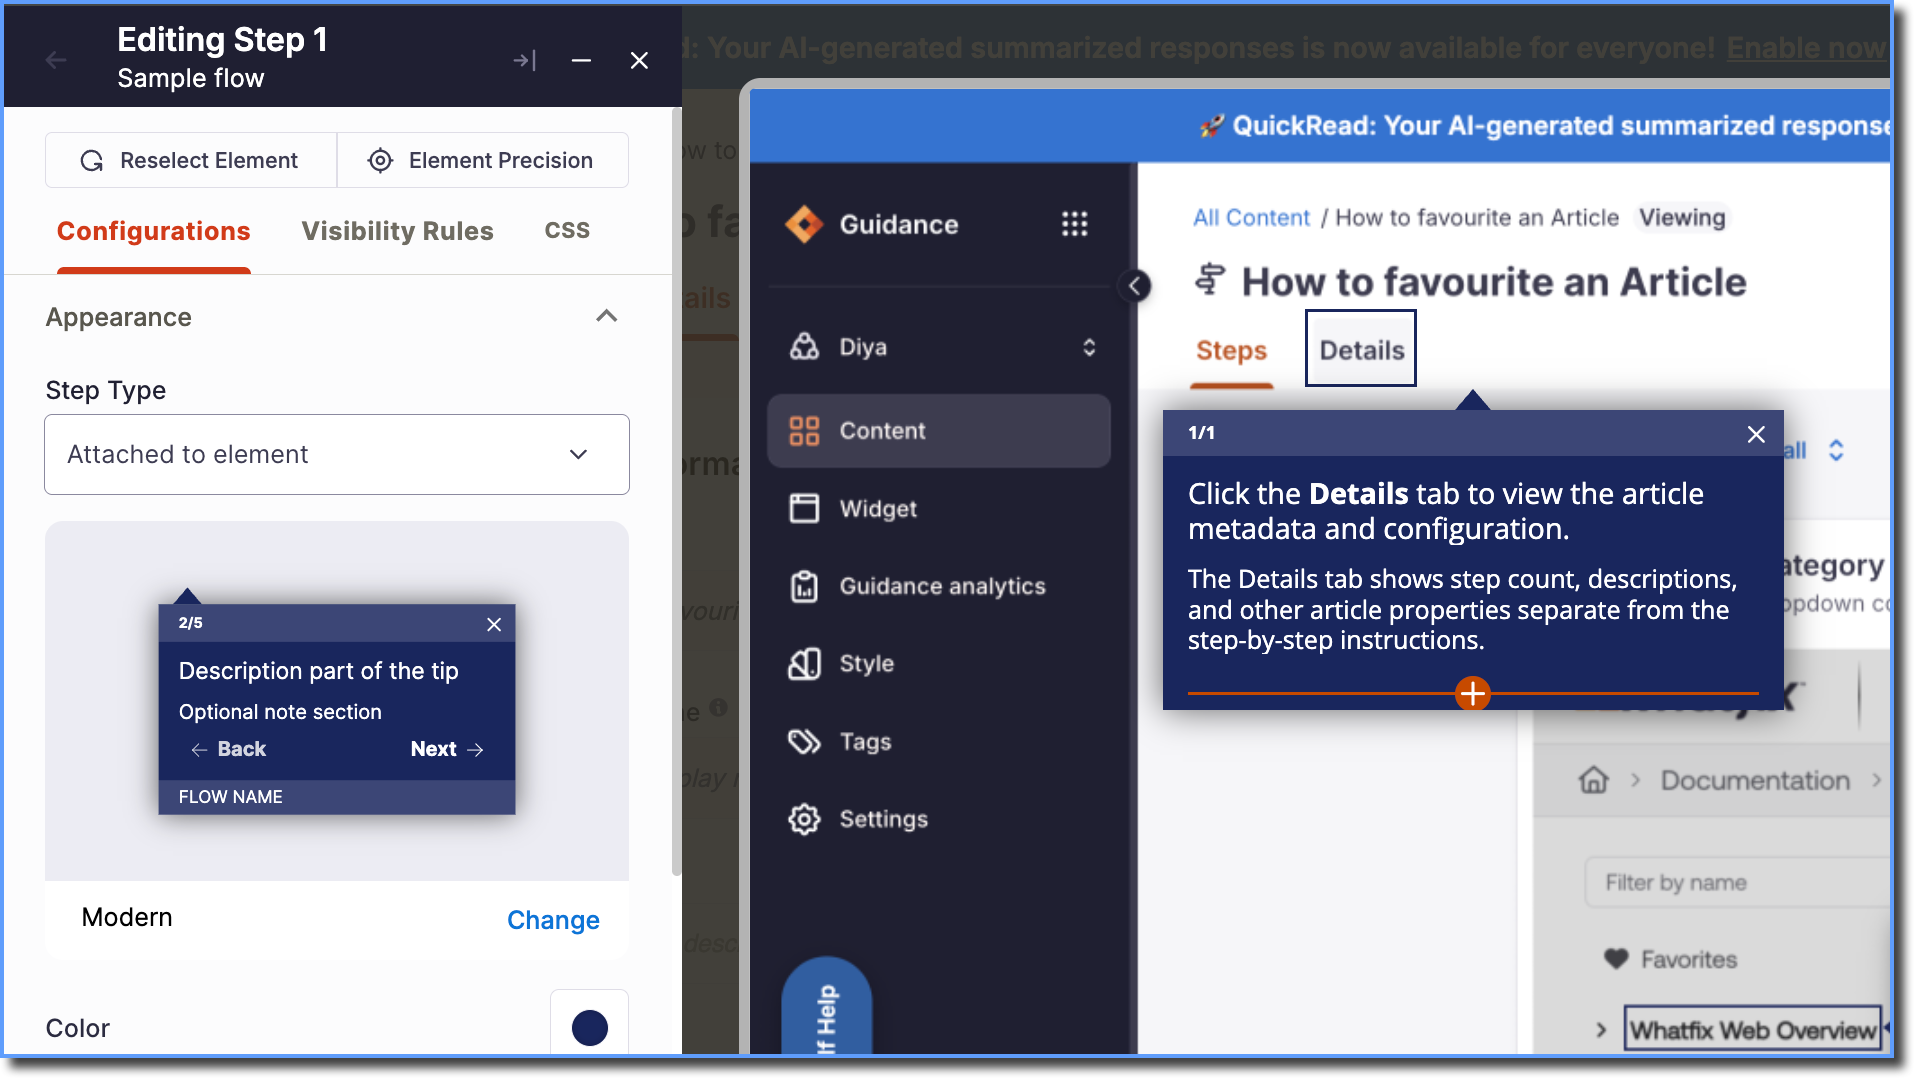
Under Configurations, expand Appearance.
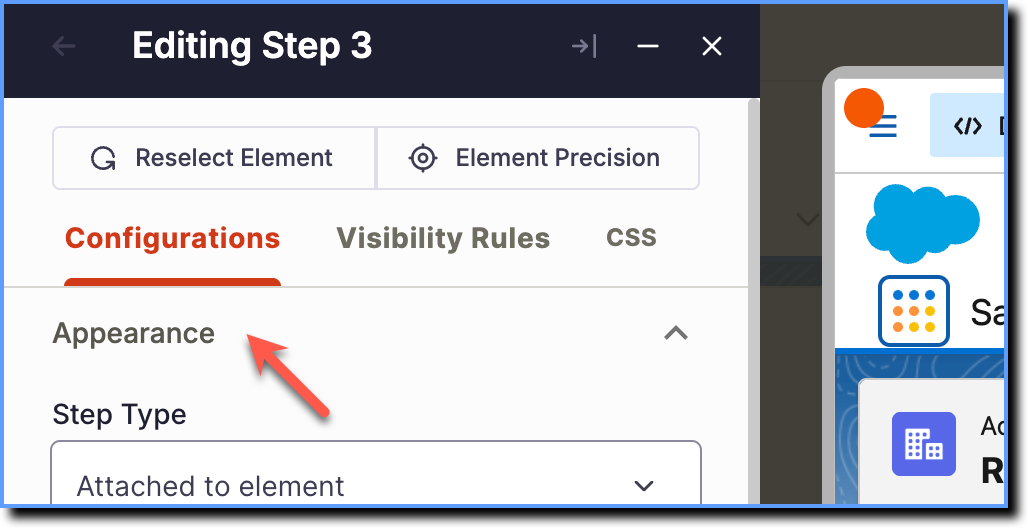
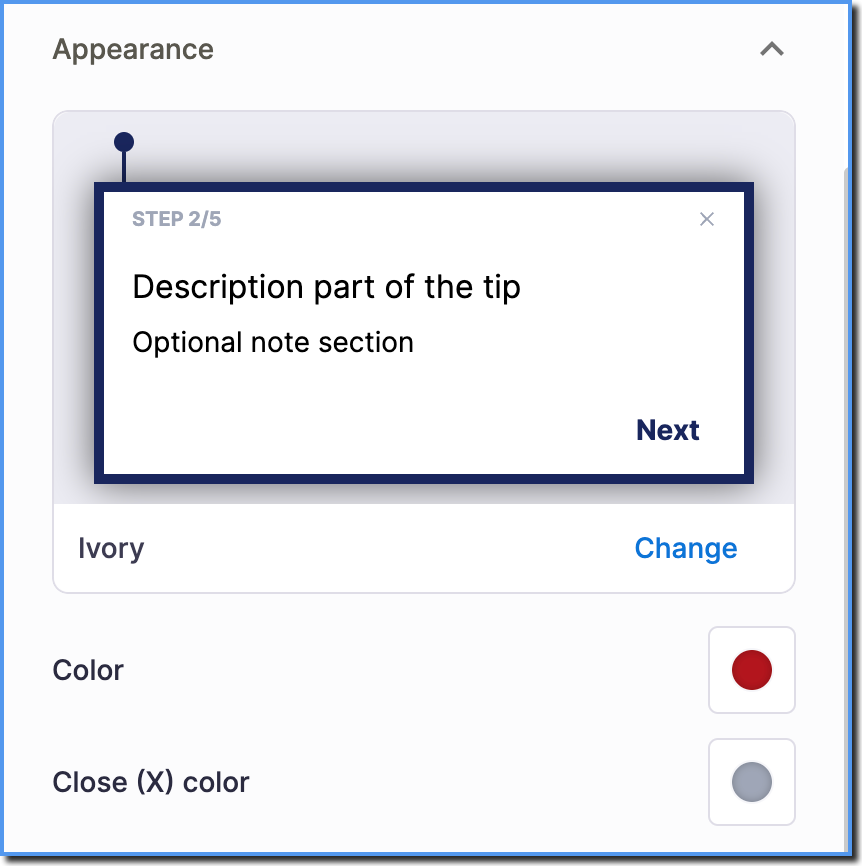
Change the following configurations:
a. Select a Tool tip appearance from the available options.
b. Select the tip Color from the existing color picker or enter the hex code of the desired color.
c. Select the Close (X) color from the existing color picker or enter the hex code of the desired color.
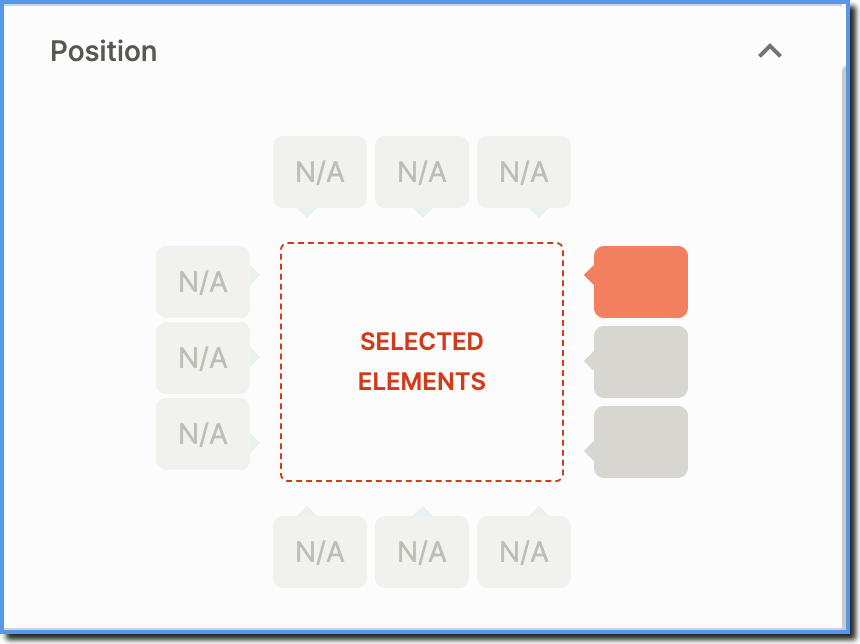
Expand Position and select the desired position of the tooltip.
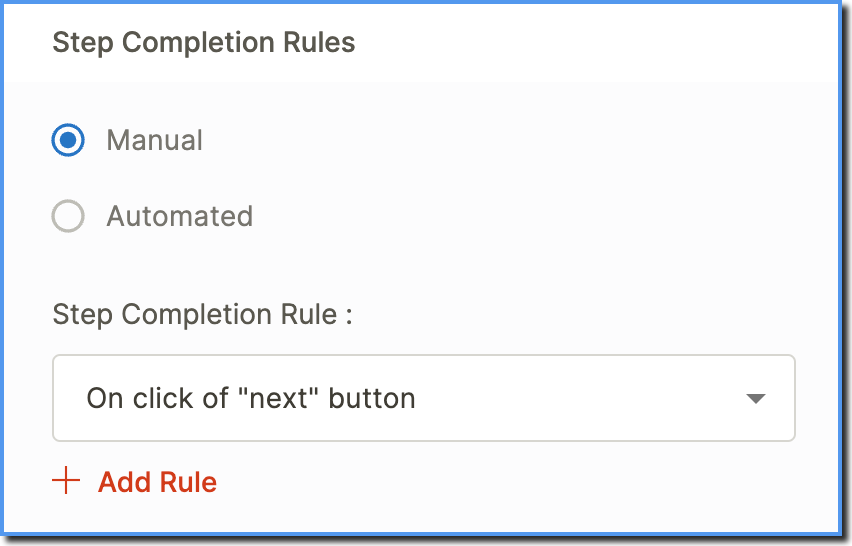
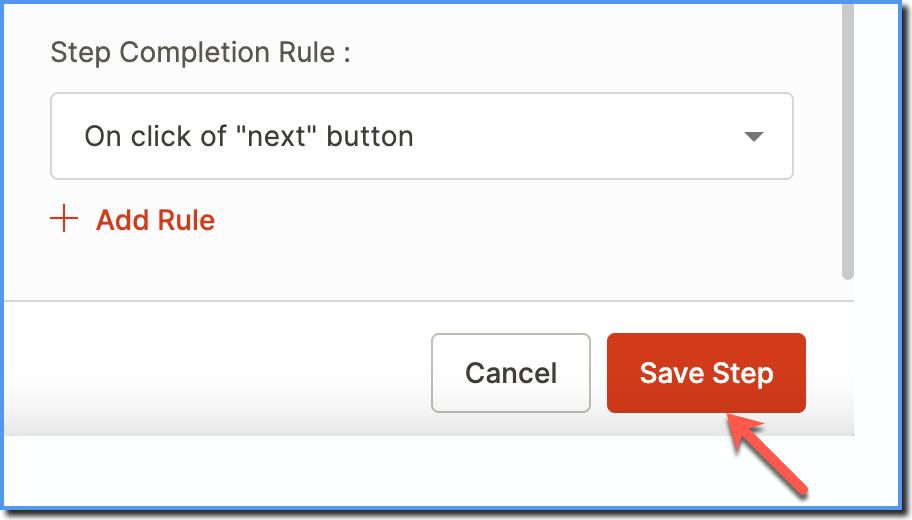
Under the Step Completion Rules section, select the desired rule. For more information on the Step Completion Rules, see Define step completion rules
Click Save Step.
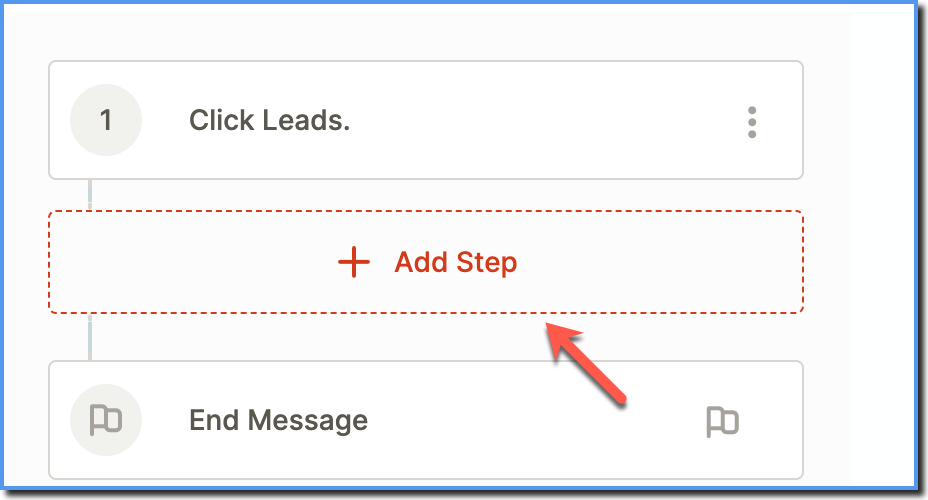
Go to where you want to start the next step and then click Add Step on the Studio.
Repeat steps 6 to 13 to add additional steps.
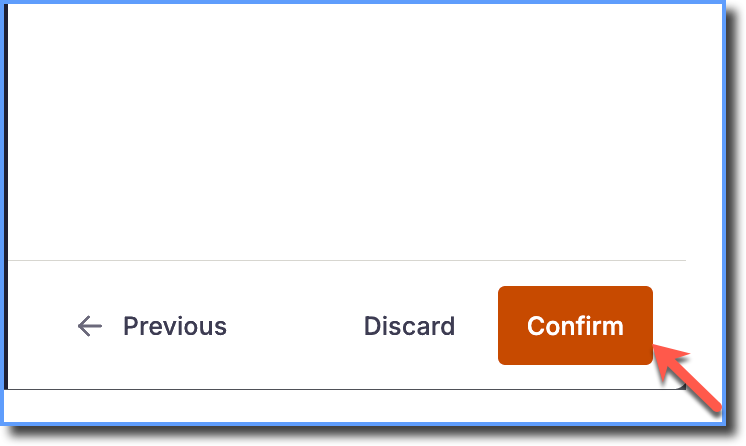
After saving all steps, click Confirm.
Info:
Once you create a Branch Flow, toggle the Show Slides button to see the Flow Slides and Branch Map.
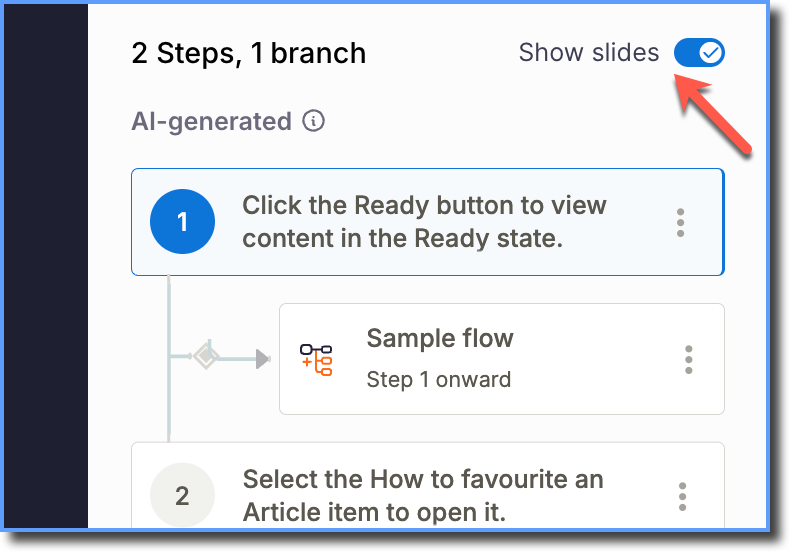
Click on Branch Map to see the Flow in a flowchart.
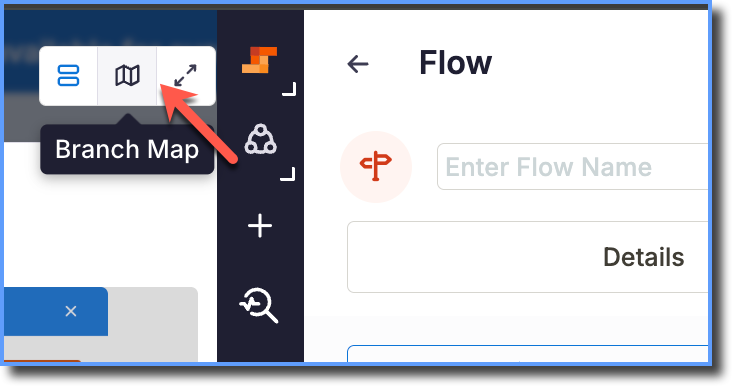
A flowchart that displays a single-view representation of how the entire Flow appears.
For more information, see Visualize the Branching in a Flow.
Once the branch is created, click Save Flow.

Add existing Flow
Use the following steps to add a branch by adding an existing Flow:
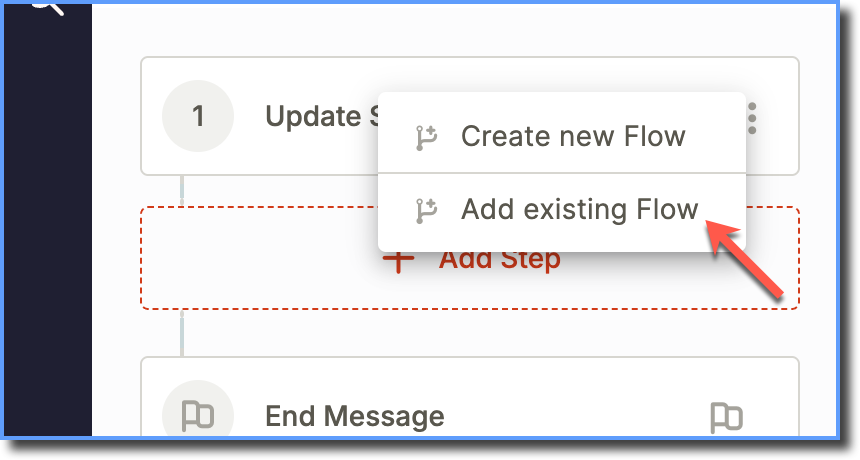
Once you click the Branch icon, click Add existing Flow.
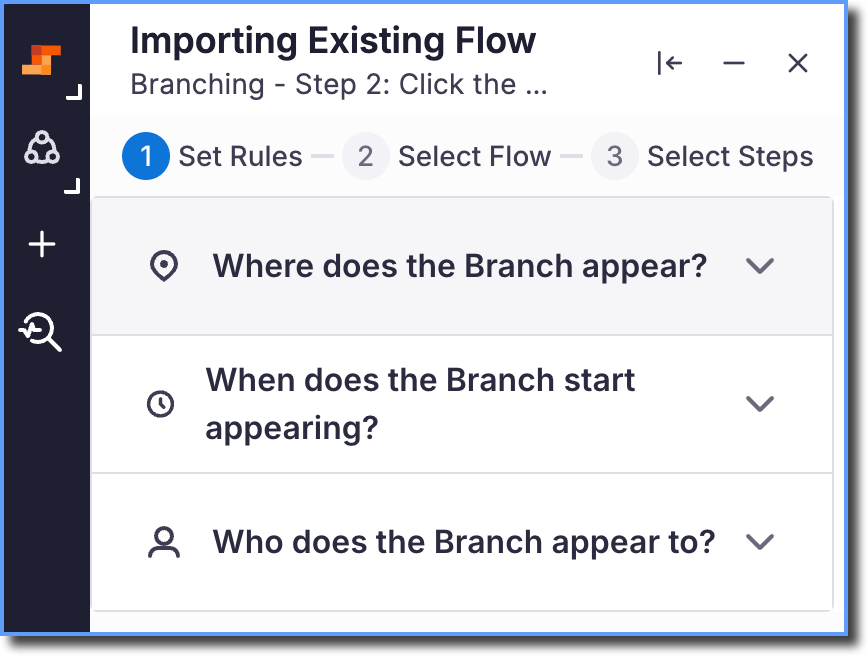
On the Set Rules page, set the following conditions:
a. Where does the Branch appear?b. When does the Branch start appearing?
c. Who does the Branch appear to?
Click Next.
next(1).png?sv=2026-02-06&spr=https&st=2026-11-12T07%3A26%3A23Z&se=2026-11-12T07%3A40%3A23Z&sr=c&sp=r&sig=GAXHlooiJ%2B2%2FbCtgIHkBRb7mvh6ARTsLLbf2R0CLALI%3D)
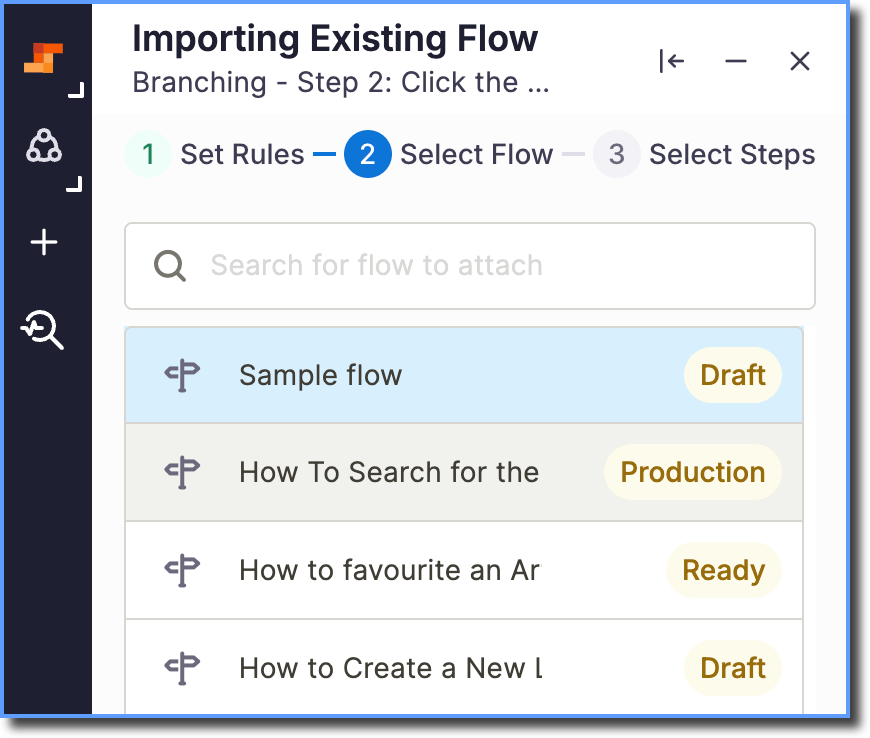
On the Select Flow page, select the Flow you want to import.
Click Next.
On the Select Steps page, select the Flow steps:
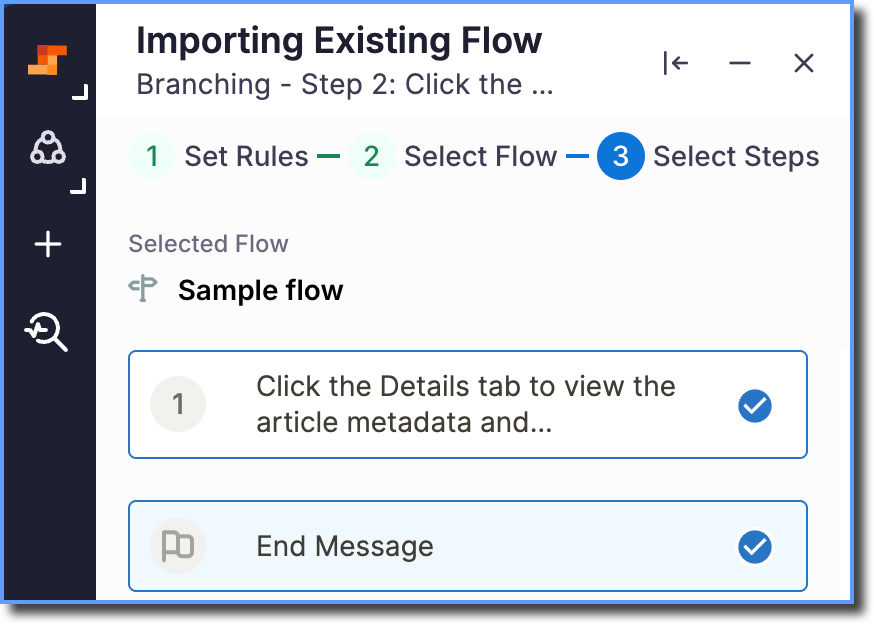
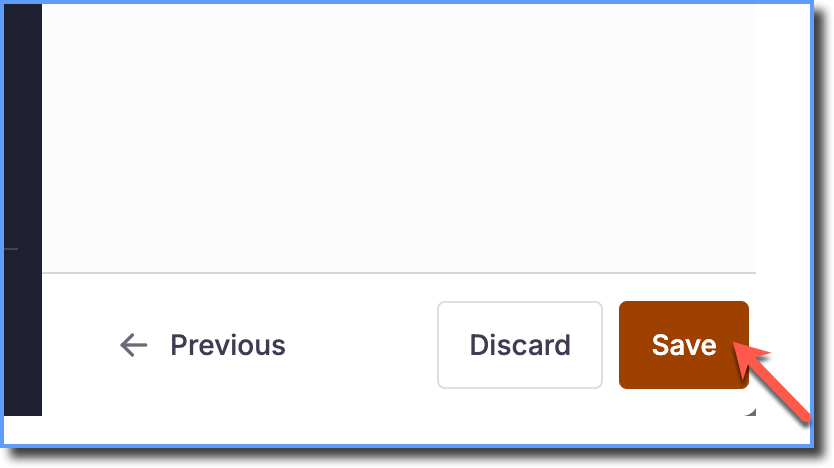
After selecting the steps, click Save.
Info:
Once you add a Branch Flow, toggle the Show Slides button to see the Flow Slides and Branch Map.
Click on Branch Map to see the Flow in a flowchart.
A flowchart that displays a single-view representation of how the entire Flow appears.For more information, see Visualize the Branching in a Flow.