Whatfix enables you to create quizzes to test your users' knowledge. Each question can have multiple answer options. After completing a quiz, users can choose to see the correct answers. Quiz results can help you identify knowledge gaps and create targeted content to address them.

- As part of the Standard plan, Whatfix enables editing the text of the questions present in the Usability and NPS templates. You cannot add, edit, delete, reorder, add conditions to your questions, or mark a question as optional.
- As part of the Premium plan, Whatfix enables complete editing capabilities such as to add, edit, delete, reorder, add conditions to your questions, or mark a question as optional.
For more information, see Whatfix Pricing.
Quiz creation is a two-step process:
Use the following steps to create a Quiz:
-
Log in to the application where you want to create content, and then launch the Whatfix Studio.

-
Under WIDGETS, click Survey.

-
Select the Quiz template.
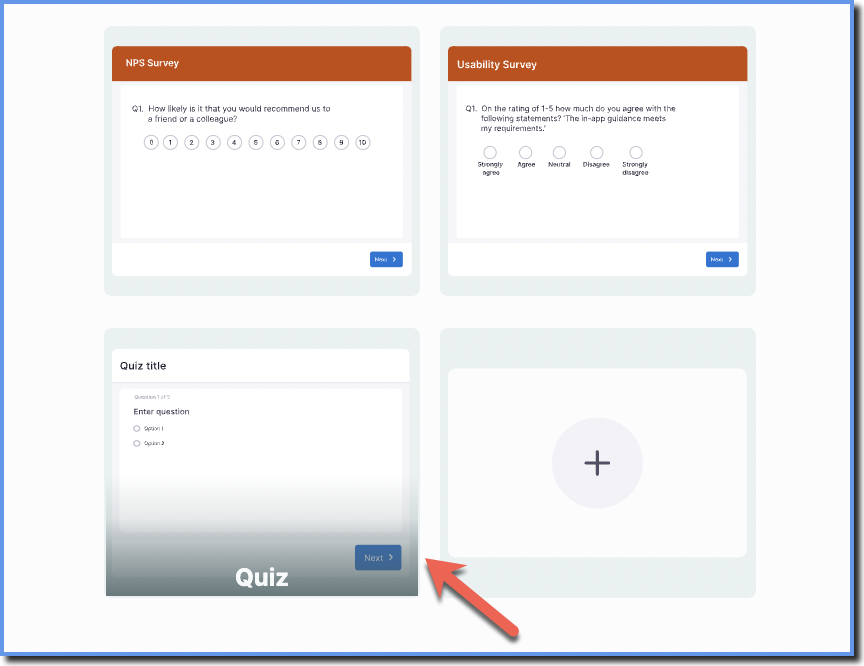
-
Enter a name for the Quiz.

The Quiz name is solely for your reference and is not visible to the end user.
-
To edit the header, hover your cursor over the header section and then click the header.
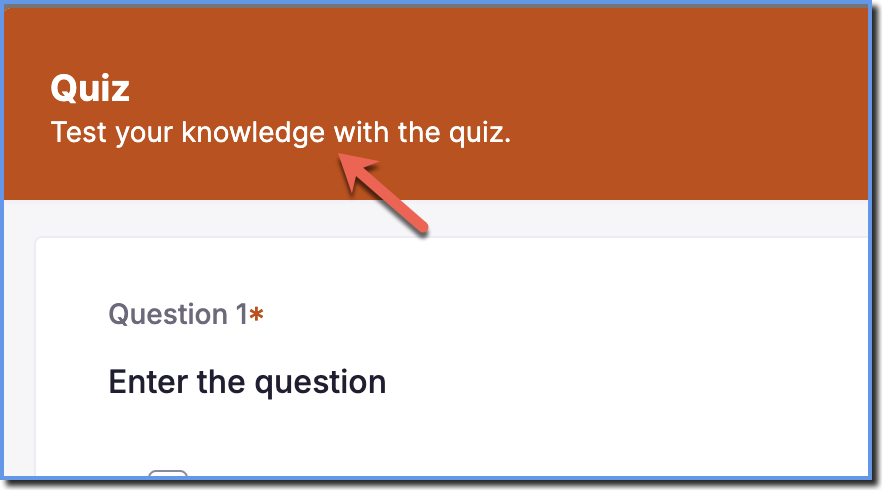
-
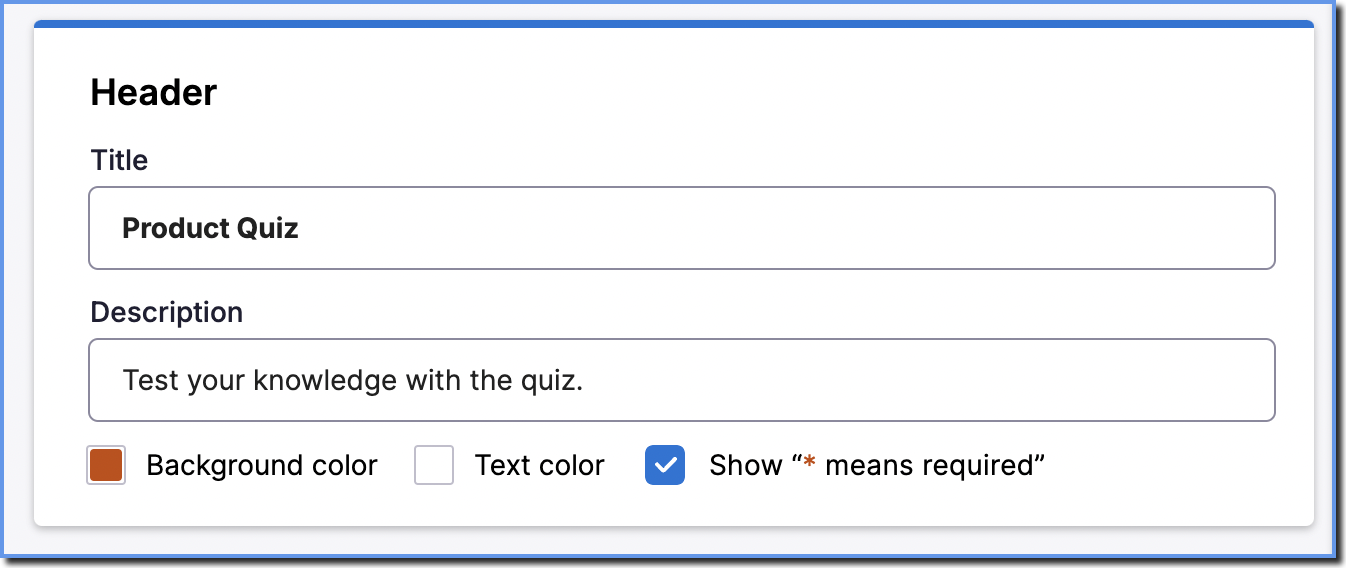
Make the following configurations to your Quiz header.
- Enter the Title.
- Enter the Description.
- Change the Background color and Text color, and also select the checkbox to show '*' for the mandatory questions according to your requirement.
-
In the Question section, enter the question.
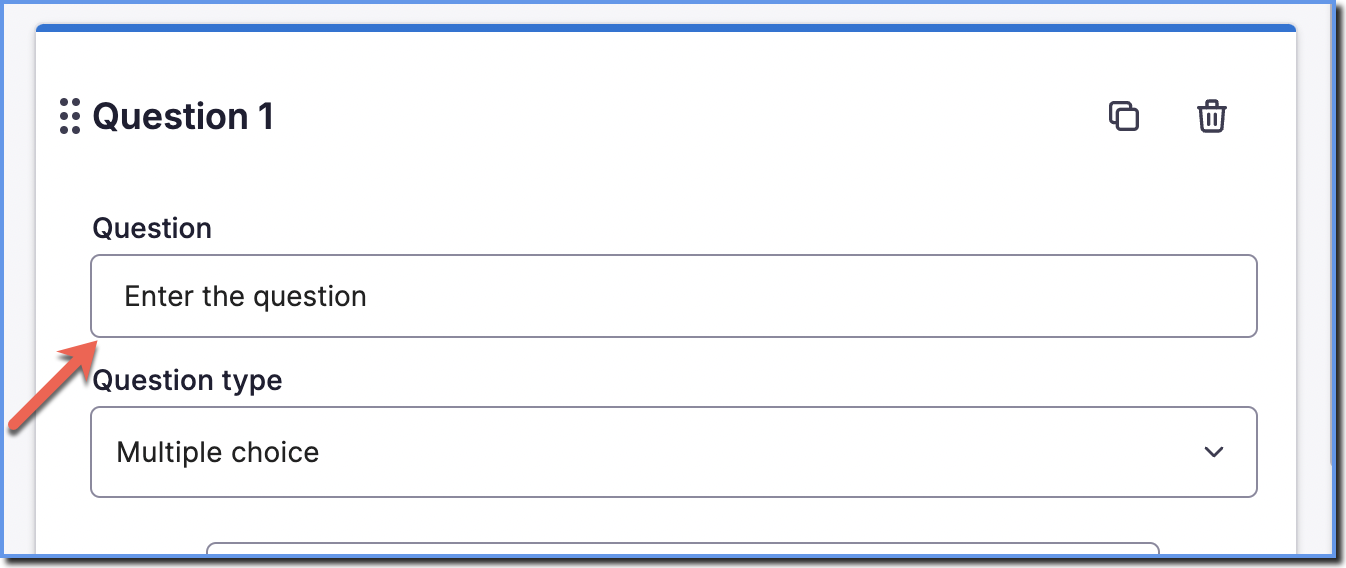
The Quiz can only be edited in the Draft and Ready stages.
- Select the Question type using the dropdown.
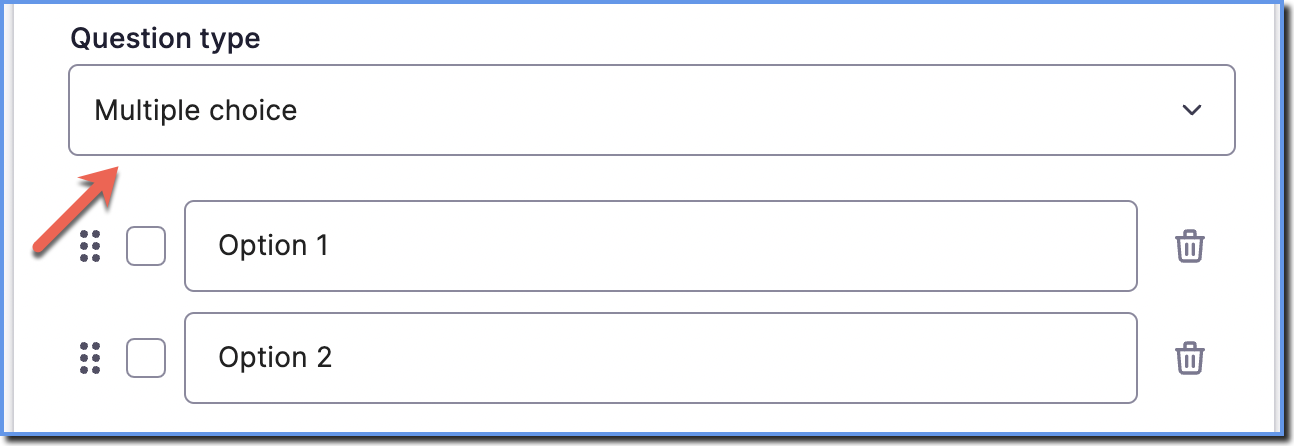
Two question types can be added to a Quiz:
- Single choice
- Multiple choice
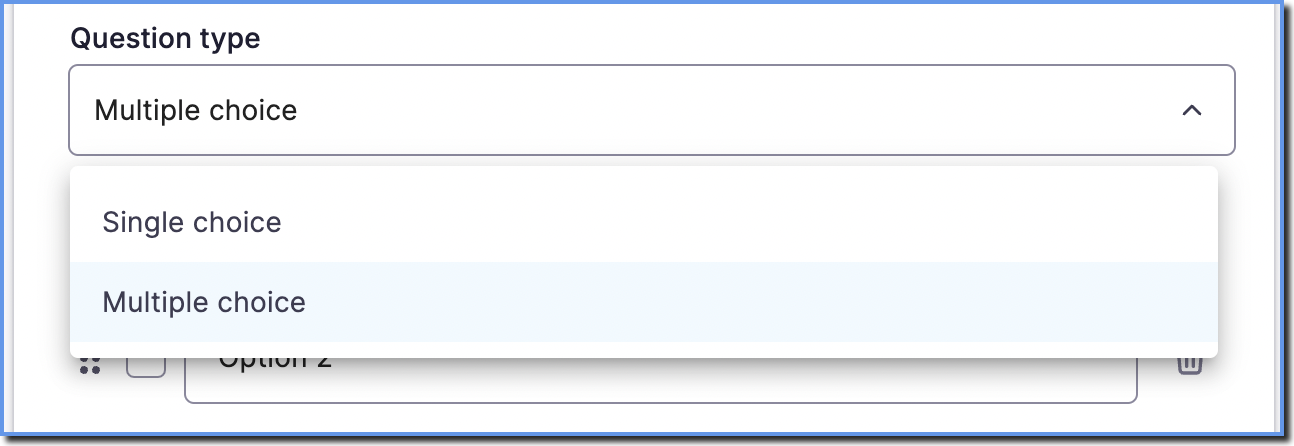
For more information on the question types, see Question Types in Survey.
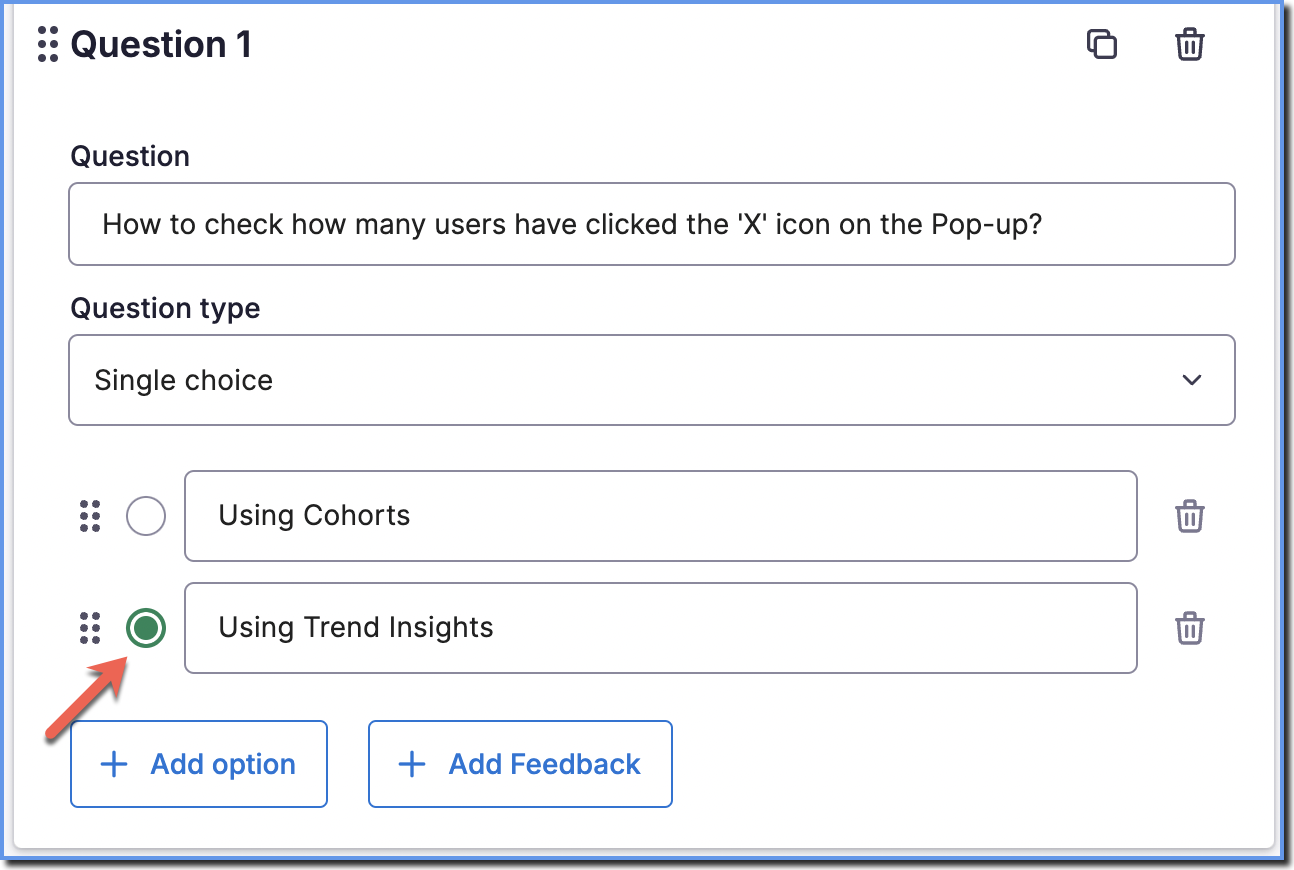
- Add options for the question, and then select the correct answer.
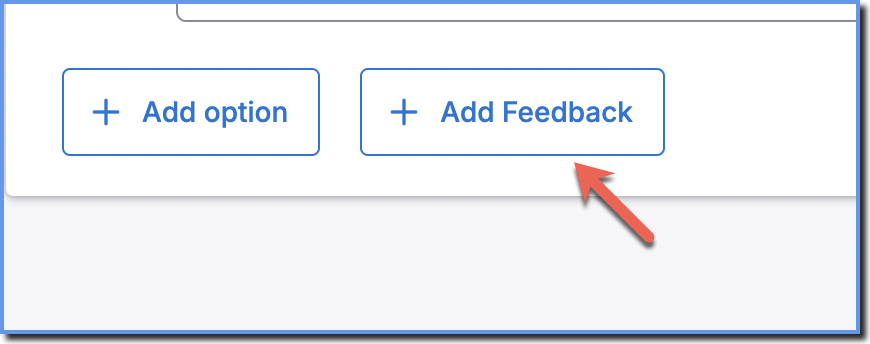
Use the + Add Feedback button to provide the end user an explanation of the answer that they input.
-
To add the next question, click Add Question.

-
In the End Message section, choose the Pass Percentage.
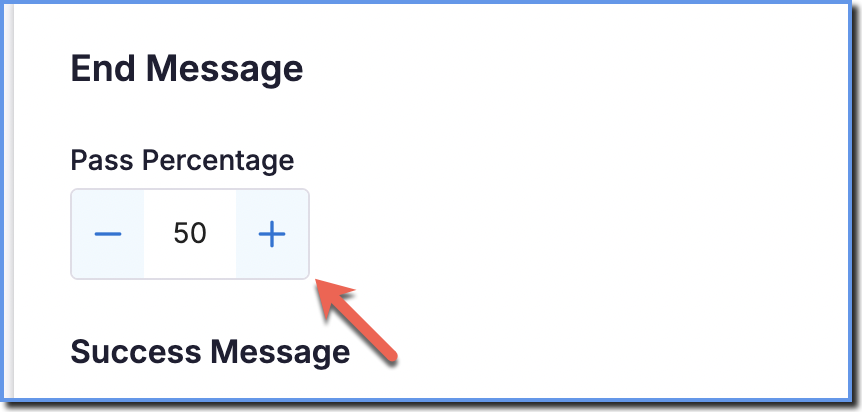
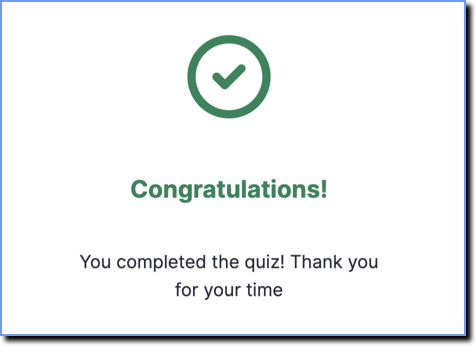
The messages displayed can be modified.
-
The Success Message displays when the end user passes the quiz.
-
The Failure Message displays when the end user fails the quiz.

-
Both message types contain a Message field that is displayed in large text, and a Subtext field that is displayed in smaller text.
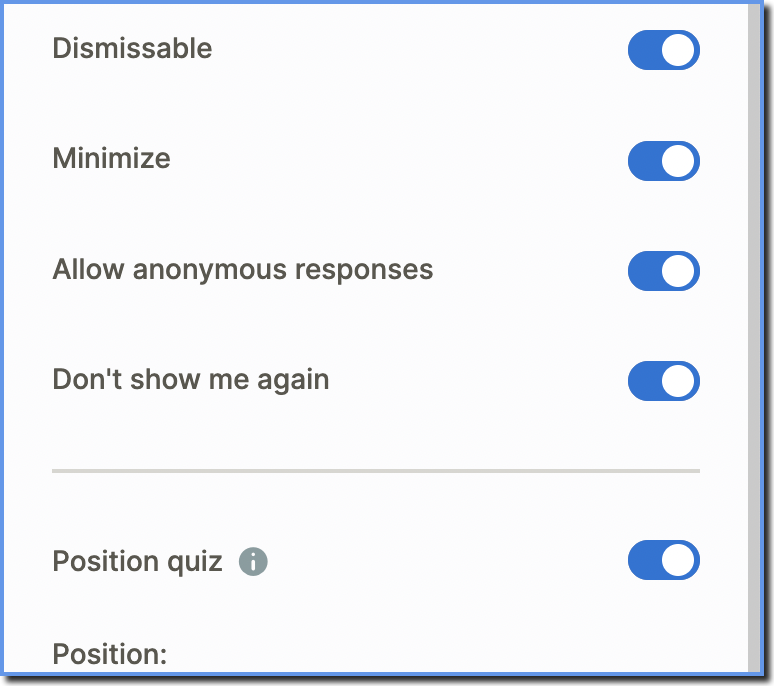
- On the Studio, under CONTROL, the following toggles can be enabled:
- Dismissible: Enable users to close or dismiss the Survey.
- Minimize: Enable users to minimize the Survey and take it later.
- Allow anonymous responses: Use this option to avoid collecting user data.
- Don't show me again: Add a Don't show me again button that prevents the Survey from appearing again, regardless of the set frequency.
- Position quiz: Change the position of the Survey on the screen.
If the end user enters a partial response and minimizes the Survey, the partial response is not saved.
- Click Save.
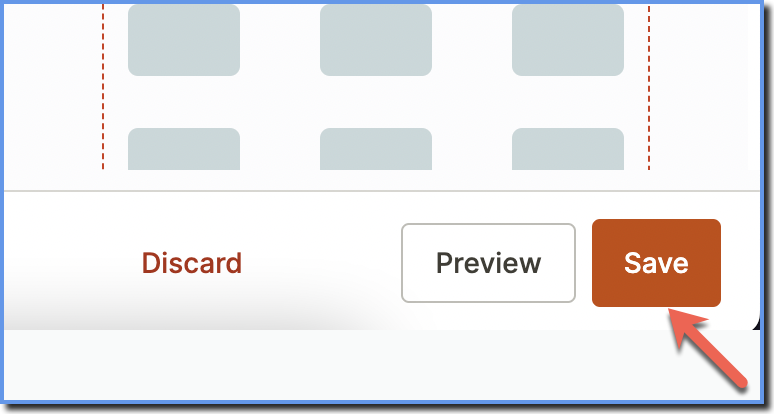
The Quiz is saved as a draft on the Dashboard. Resume editing the Quiz using the Dashboard.
-
On the Whatfix Guidance dashboard, click Widgets.

-
Click Surveys.

-
Hover your cursor over the required Survey, and then click the Edit icon.

-
Click Set Visibility Rules.

-
Set the visibility rule Where does the survey appear? for the Quiz to appear.

For more information, see Visibility and Display Rule Conditions.
-
Set the Visibility Rule When does the survey start and stop appearing? for the Quiz.
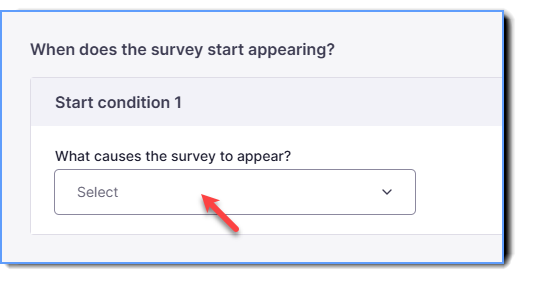
Once the user responds to the Quiz, the Quiz won't be shown again irrespective of the set occurrence.
- Click Save.

For more information on Create using AI, see Create Advanced Visibility Rules using AI.
